Miscellaneous
Rotation Behavior in Different Views (Alt + Left Click)
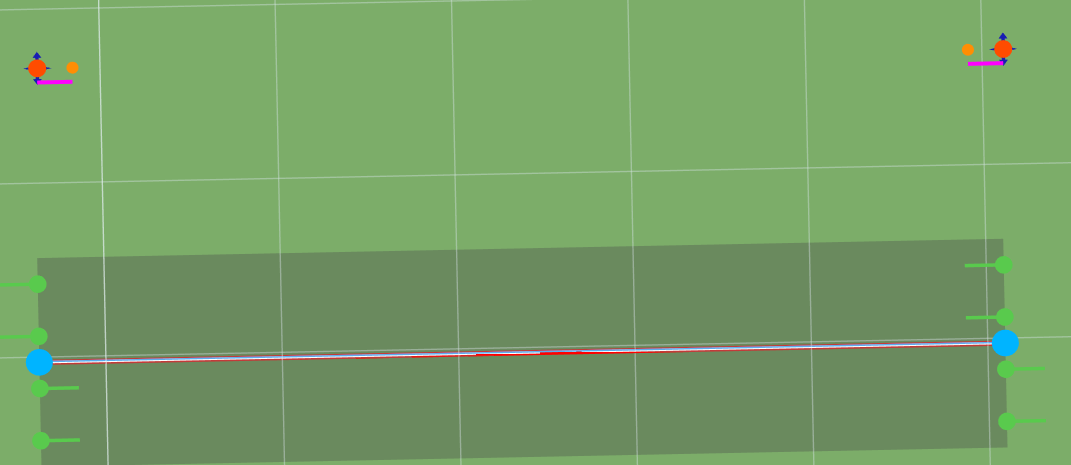
When rotating the view using Alt + Left Mouse Button, the scene temporarily enters a 3D viewing mode.
In this mode, the road anchors (green/blue dots) may appear above the road surface or shifted visually.
However, these anchors remain logically connected to the lane geometry — their actual position on the road does not change.
Why this happens
- The rotation only affects the camera perspective, not the lane geometry.
- In 2D mode, RepliMap provides a temporary 3D tilt for better visual inspection, but not for editing.
- Anchors are drawn in screen space and may appear lifted or offset during this temporary rotation.
Important notes
- Editing actions like extending roads, placing objects, or moving anchors are disabled while using this temporary 3D view.
- Once the user releases the Alt key, the view resets to the default 2D projection, where anchor alignment is restored.
Recommended workflow
- Use the temporary 3D tilt only to check road slopes, alignments, or junction geometry visually.
- To perform edits, switch back to 2D mode (release Alt) — this ensures precision for all anchor-based operations.
Tip: For continuous 3D editing, switch to the dedicated 3D view mode from the Road Properties panel.
Clicks
Single Click
Once you have created a road on the map, press left-mouse button once on the road to select the road and its anchor points. Click at any point on the main window to deselect the specified road.
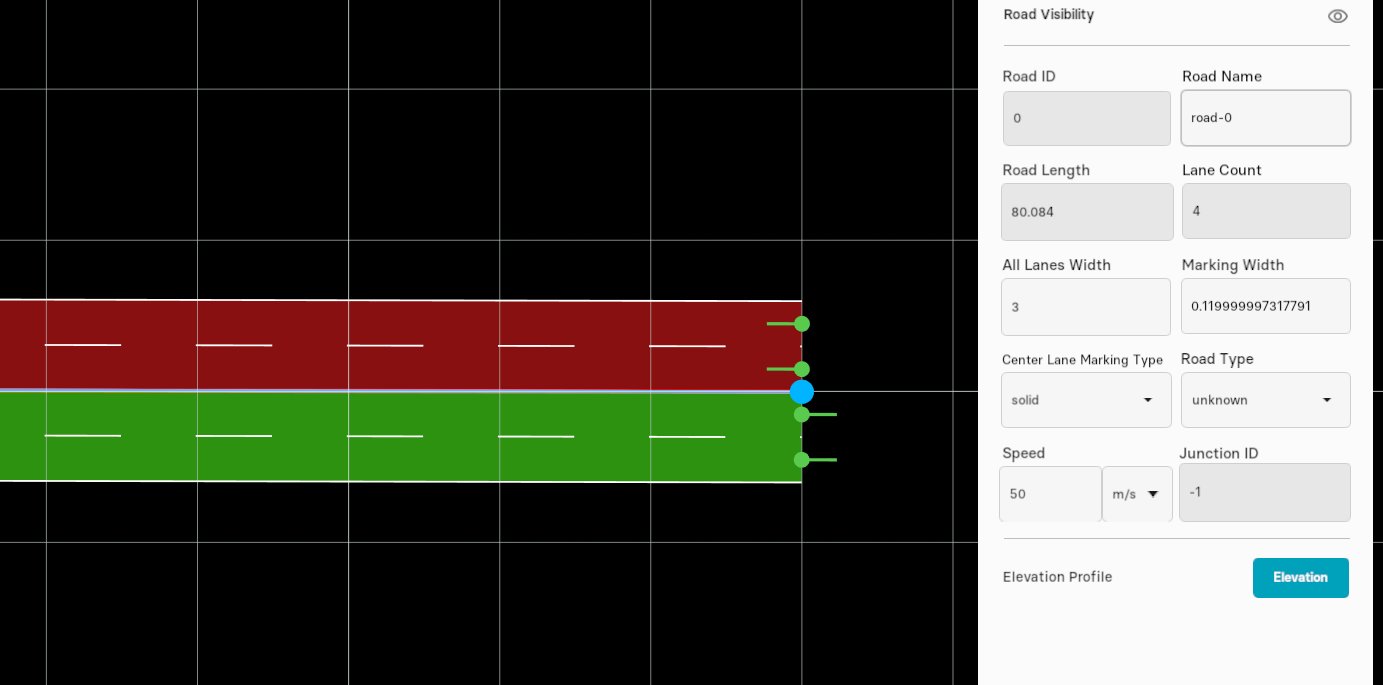
Double Click
By doucle-click left-mouse button on the road, all parameters related to lane section appears at the rightside of the map-editor window as illustrated in figure below.

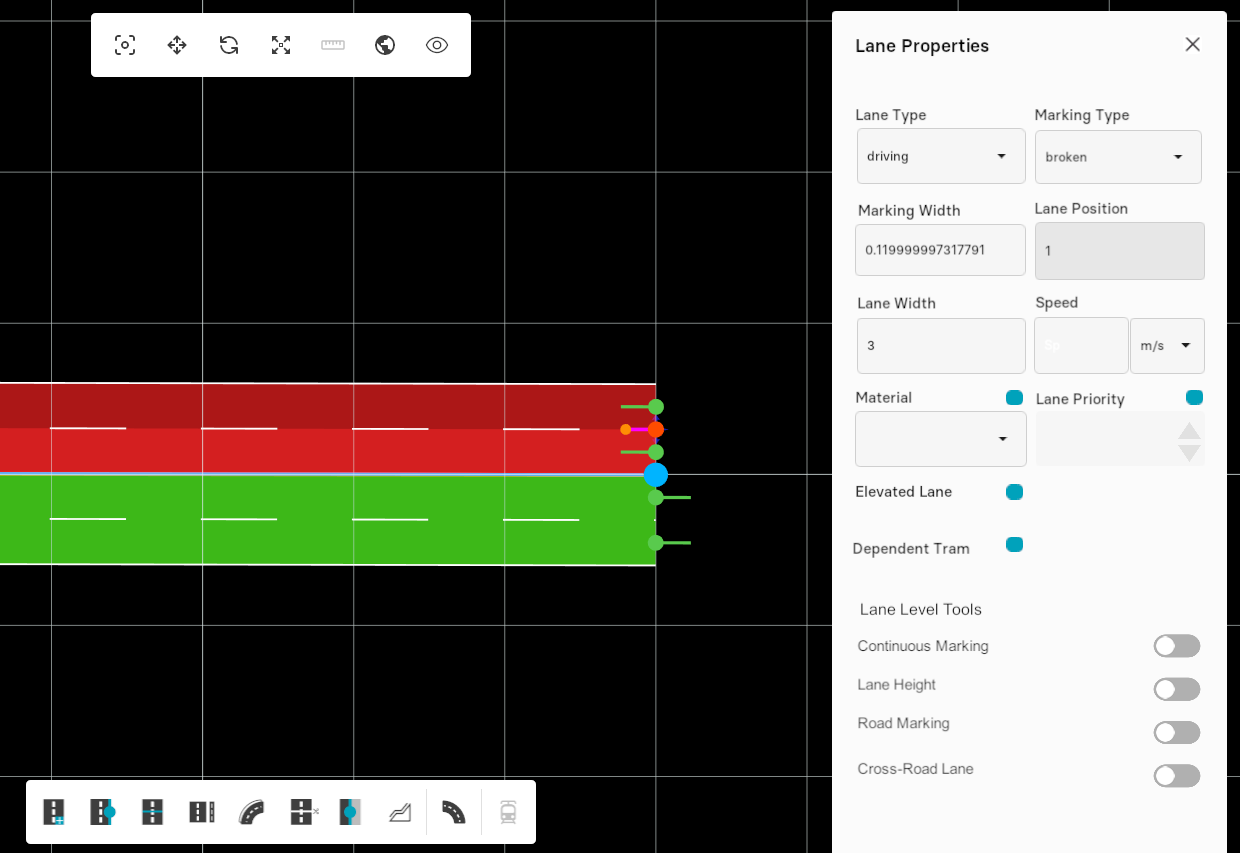
Triple Click
To select a particular lane from the specified road, press triple-click left-mouse button on that lane. Click once at any point on the main window to deselect it.
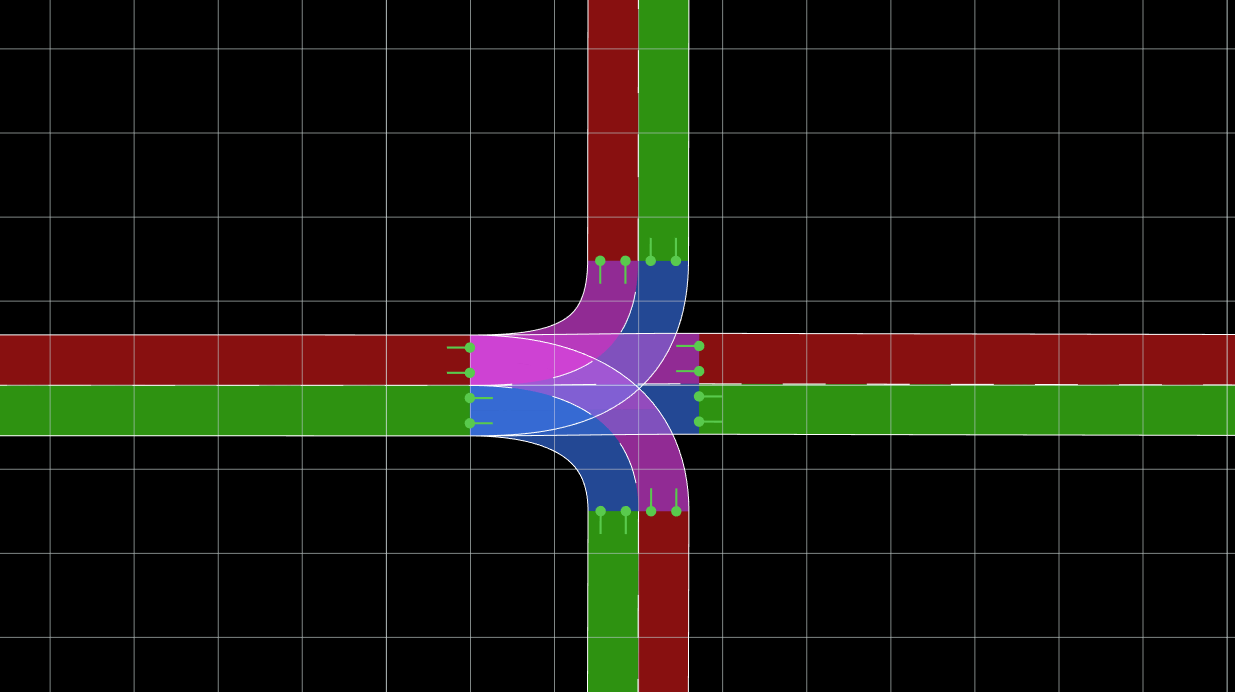
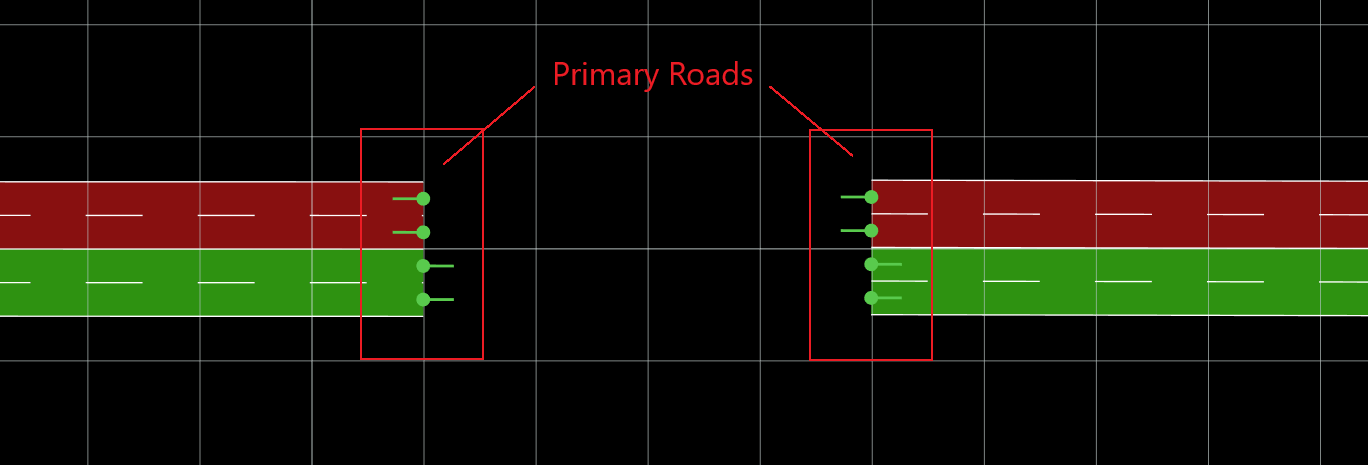
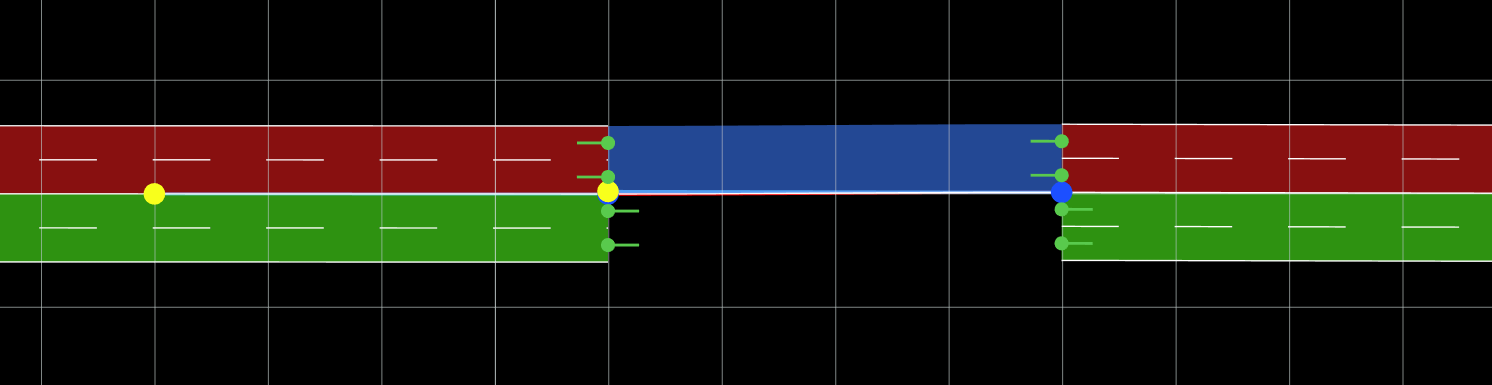
Road Connections
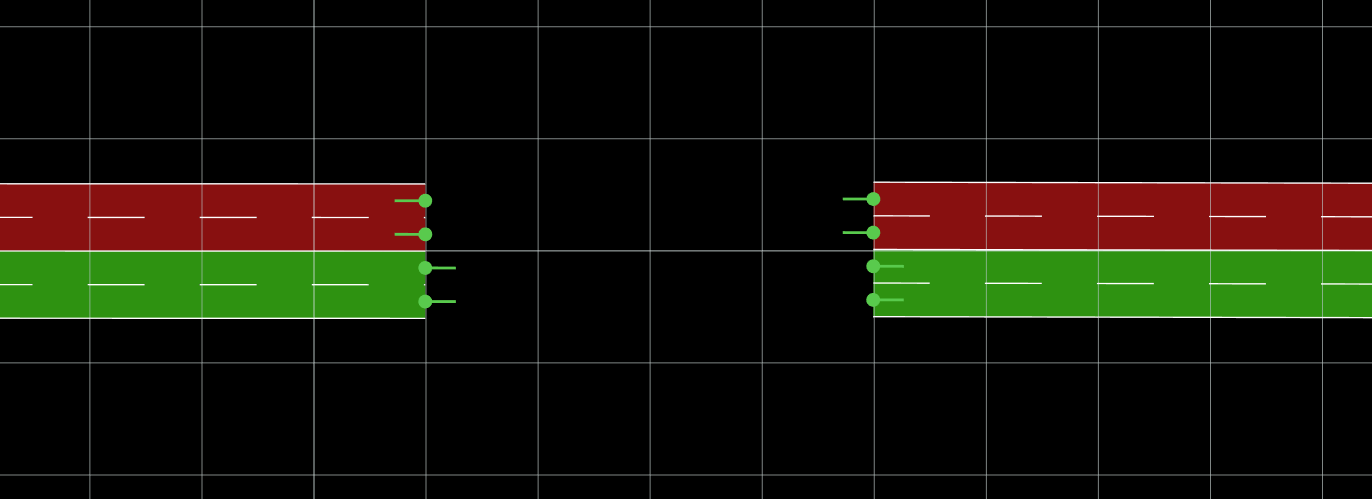
A road linkage is created between two separate primary roads, first one with outward slots is served as incoming road and other with inward slots as outgoing road.
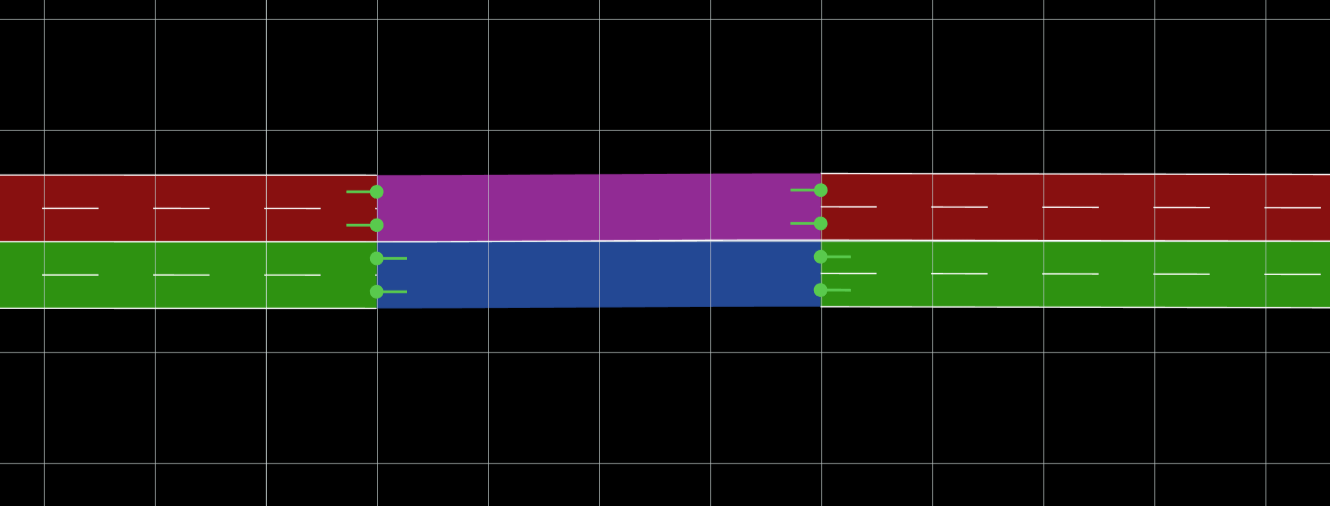
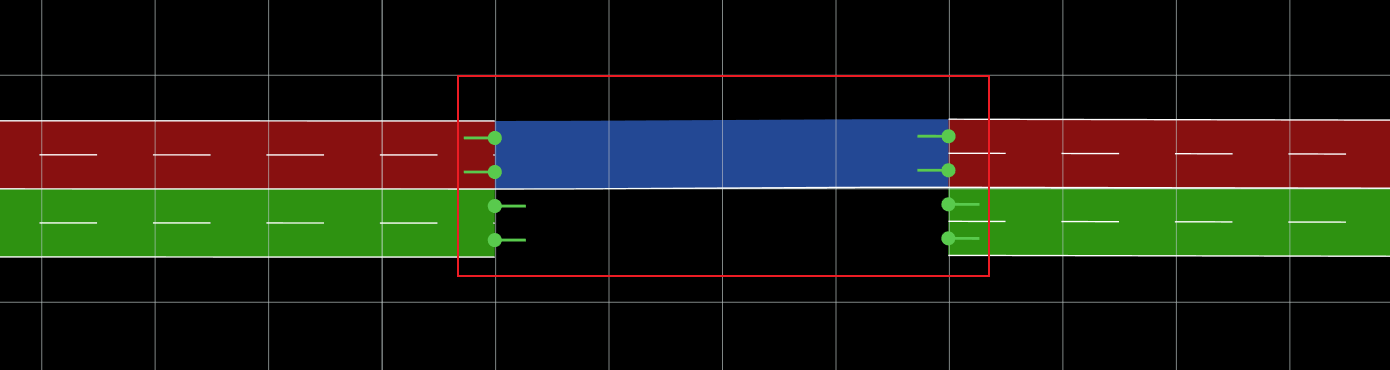
A connecting road (blue colored) is created between two primary roads.
Follow the steps below to create a connection between two single roads:
-
Thus, add two different roads in your map or select the existing roads.
-
Simply, click on "green" outward slot of first primary road. Note that you need to click on the slot of the lane nearest to the reference line of this road.

- Now, move your cursor towards other primary road and click on the slot of desired lane.

- By doing this, a new connecting road appears as a link between those two roads making a Multiple lanes connection. Ensure discretion when creating roads with connection anchors, as detailed in Creating Connection Roads.
Creating Connecting Roads
In order to create a an all-lane connection, click on outward "green" slot of incoming lane and then click on inward "green" slot of outgoing lane.

Road pairs can also be formed by focusing on the edge-most connection anchor of the lane closest to the reference line.

Hold "L" from your keyboard to create single lane connections except for right-most and left-most lane.

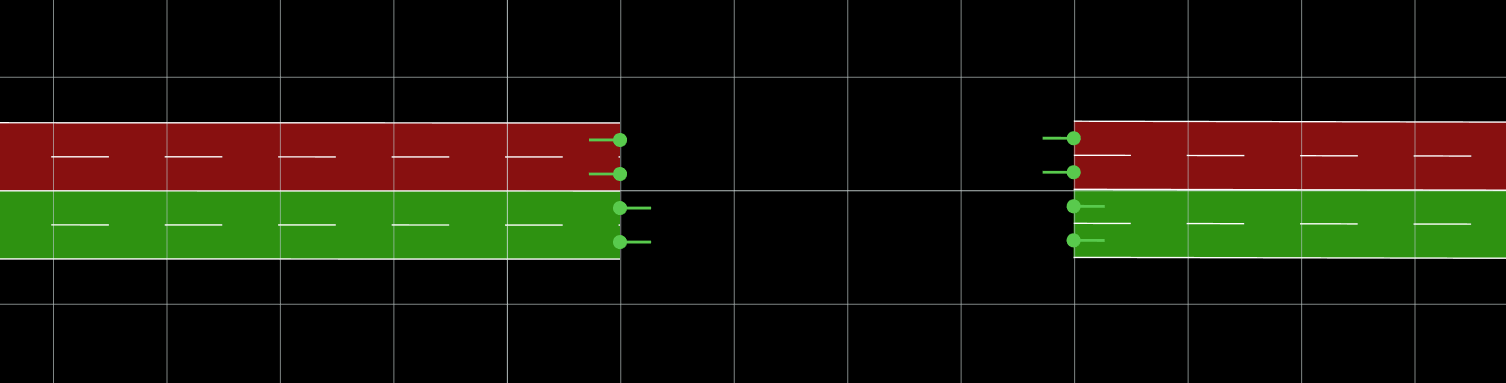
Delete Connecting Roads
Go to toolbar and select the "Select Road" tool. Now, move your cursor towards the desired connecting road and click on it.
Once the connecting road is selected, you can click the "del" button on your keyboard. This will automatically delete the connecting road.
Junctions
Junctions consist of a connection matrix which indicates all possibilities to enter a connecting road from a given incoming road. As illustrated in the figure given below, all these connecting roads are sharing a single primary road that forms a single junction.