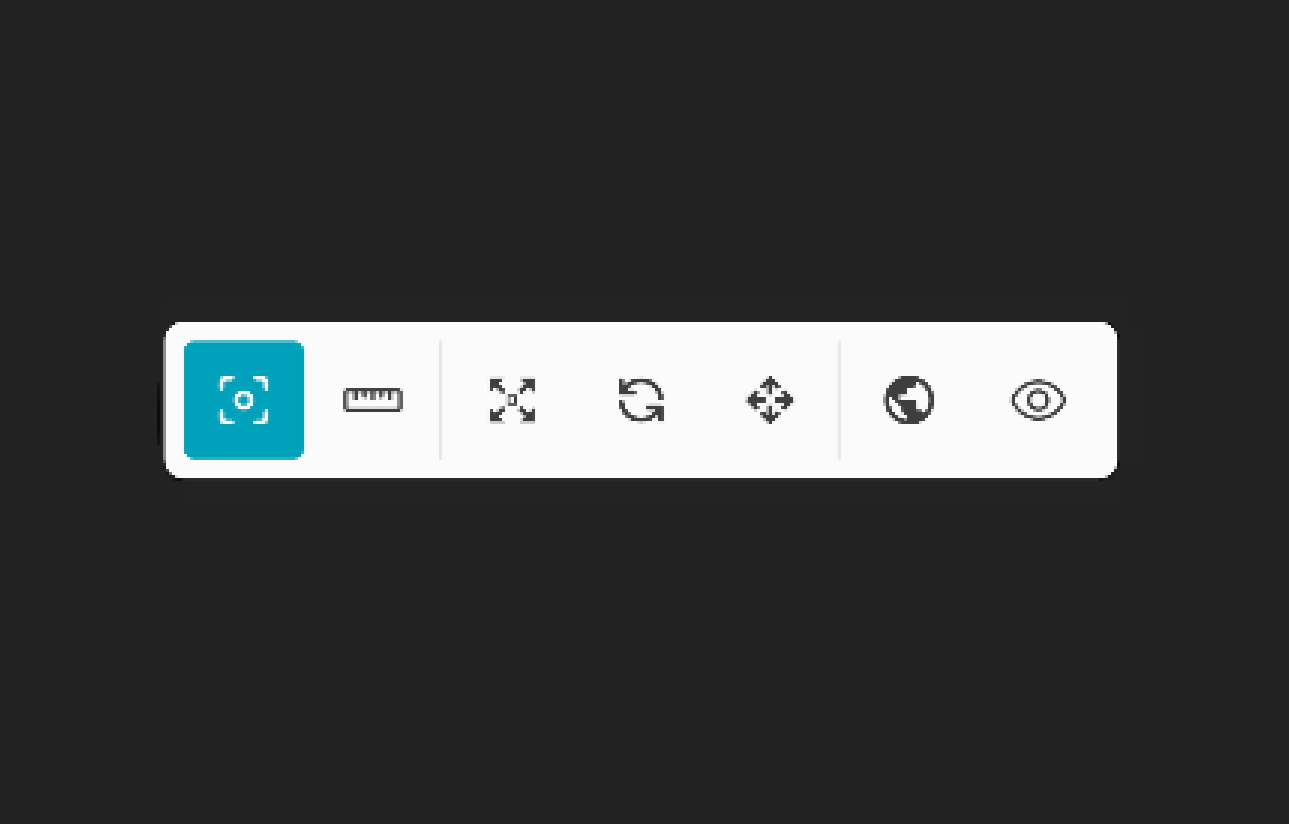
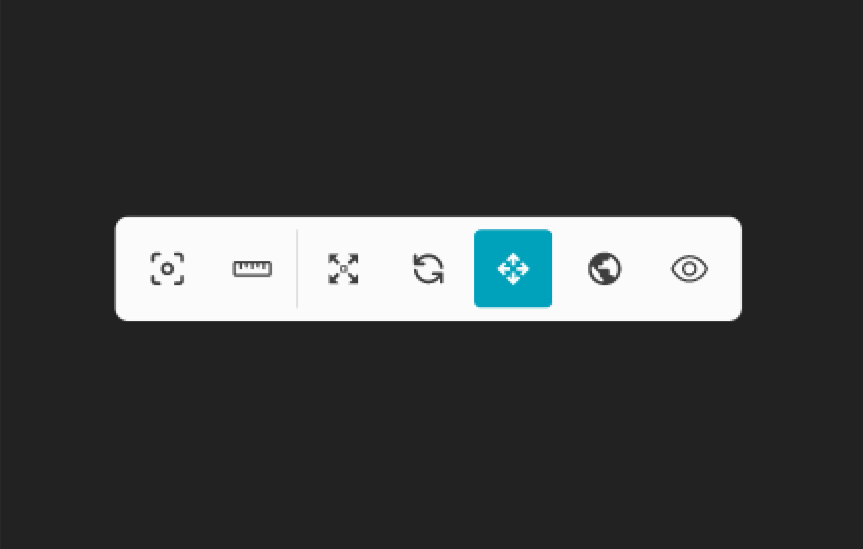
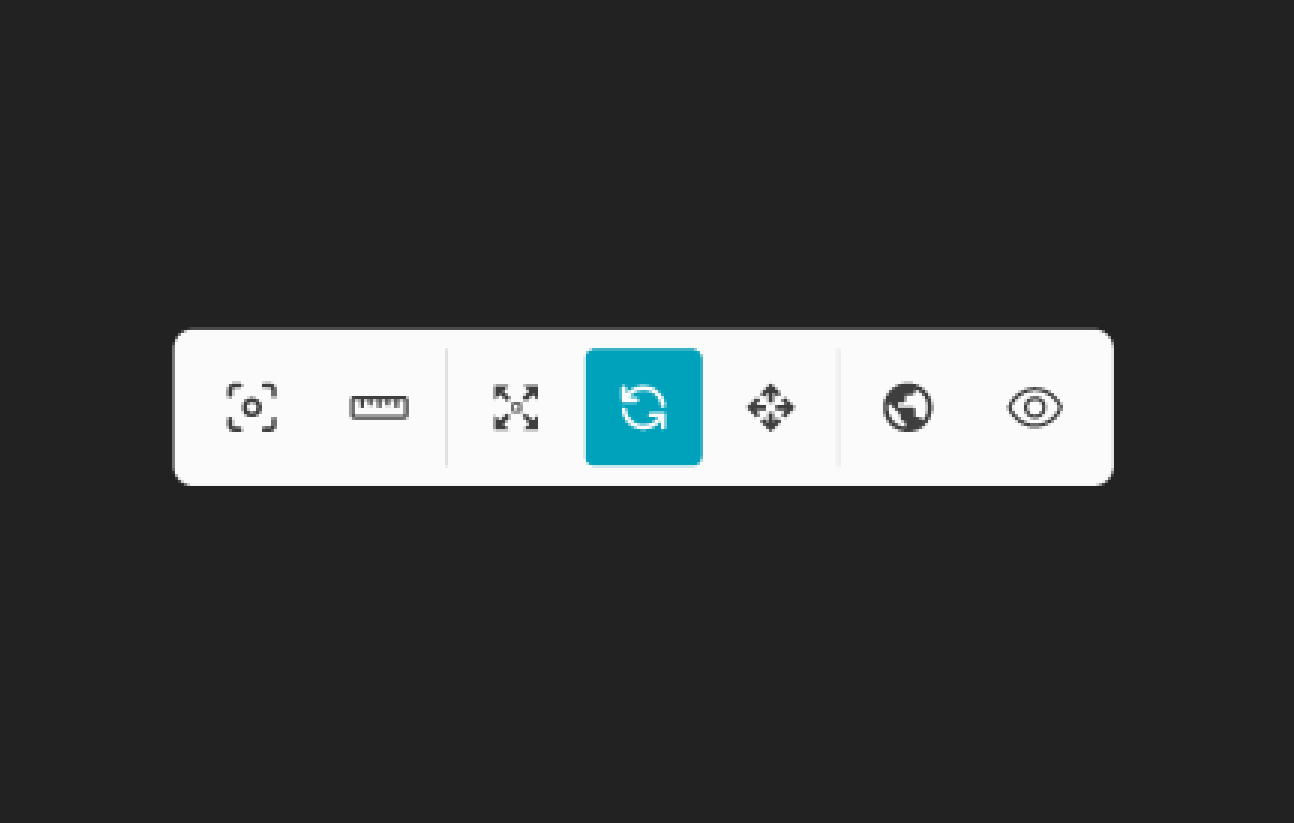
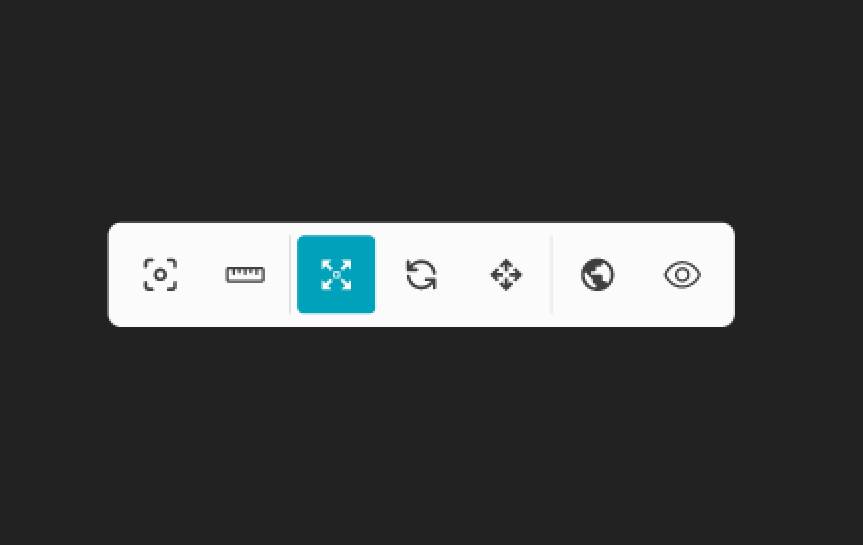
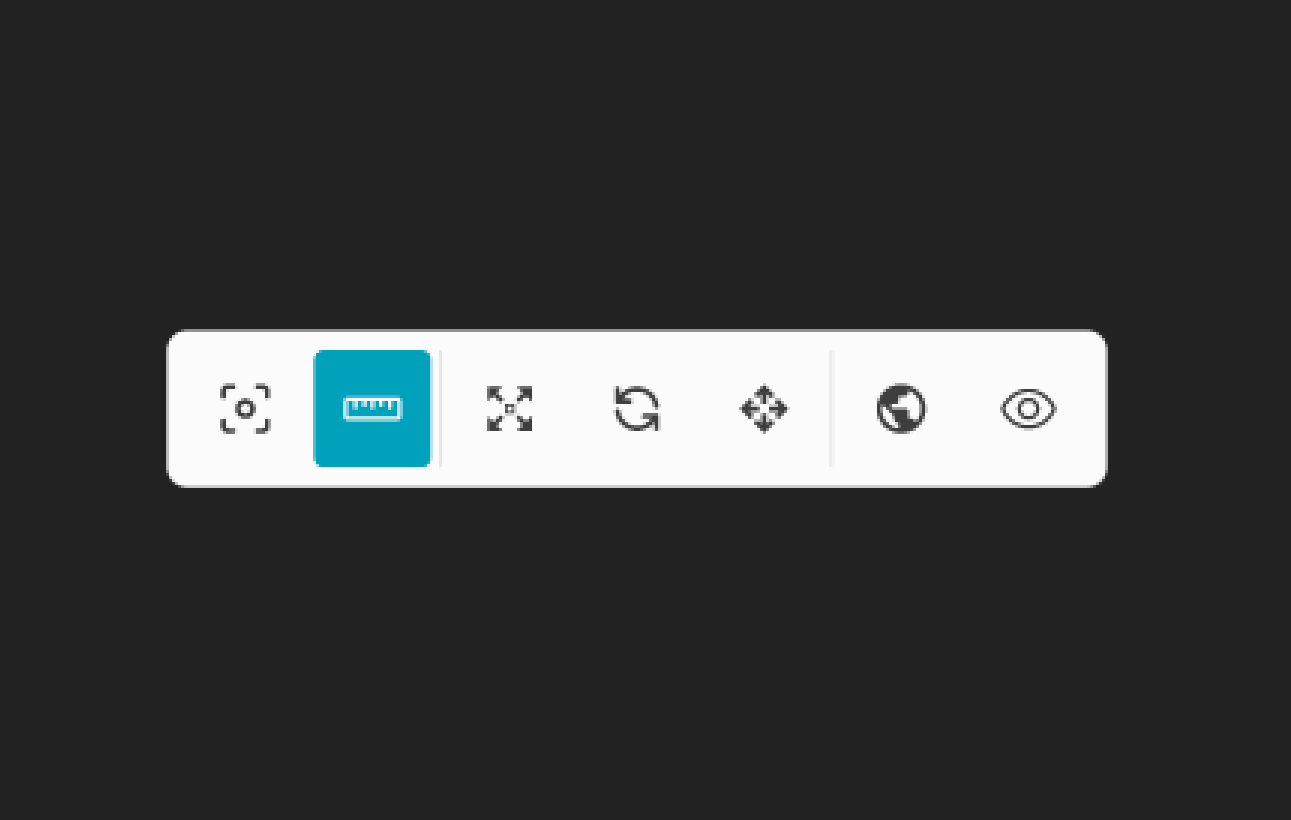
Toolbar
Overview
The Toolbar provides you a variety of options while creating a map in the map-editing window.
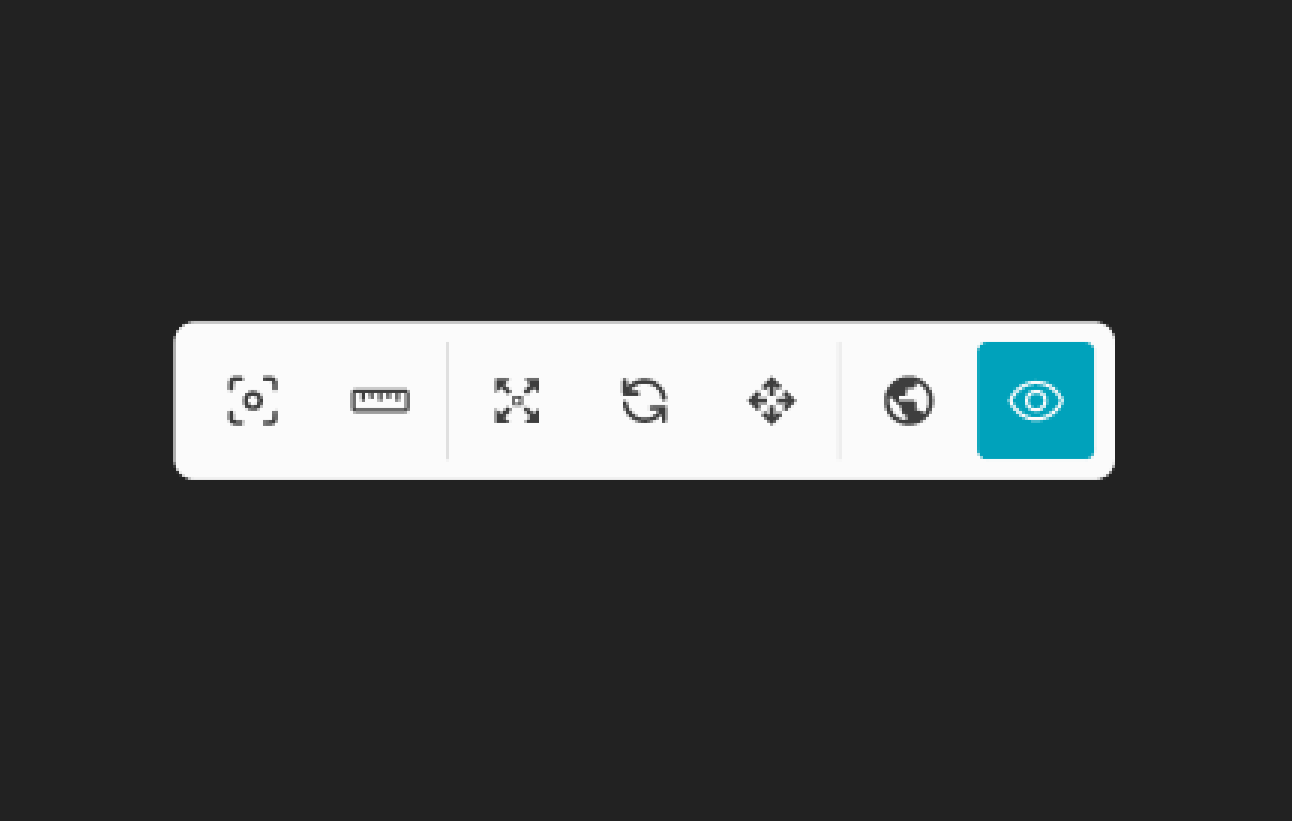
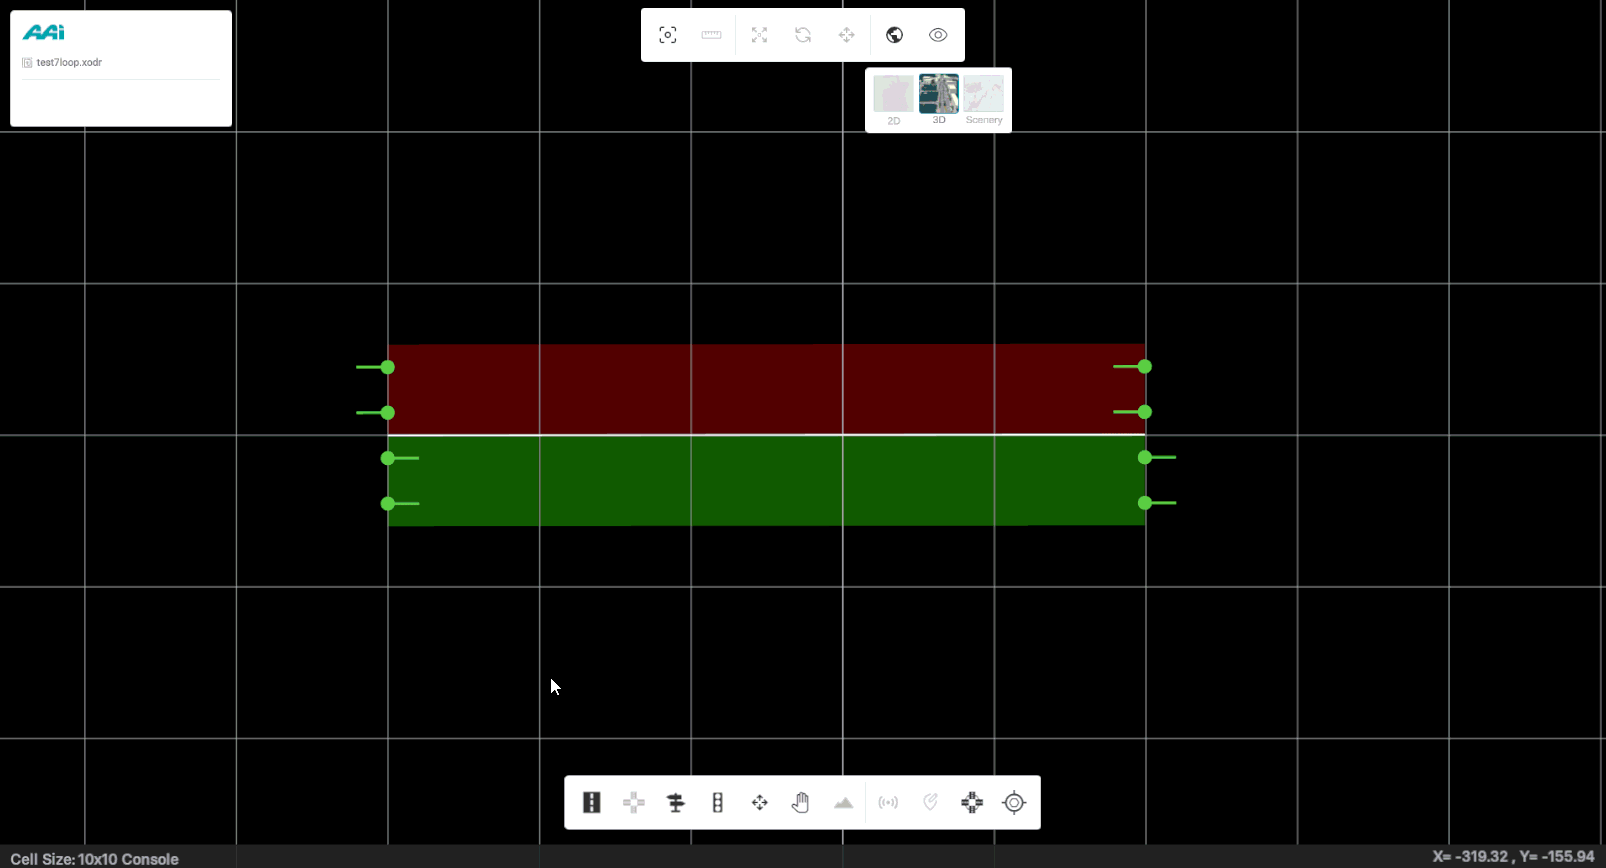
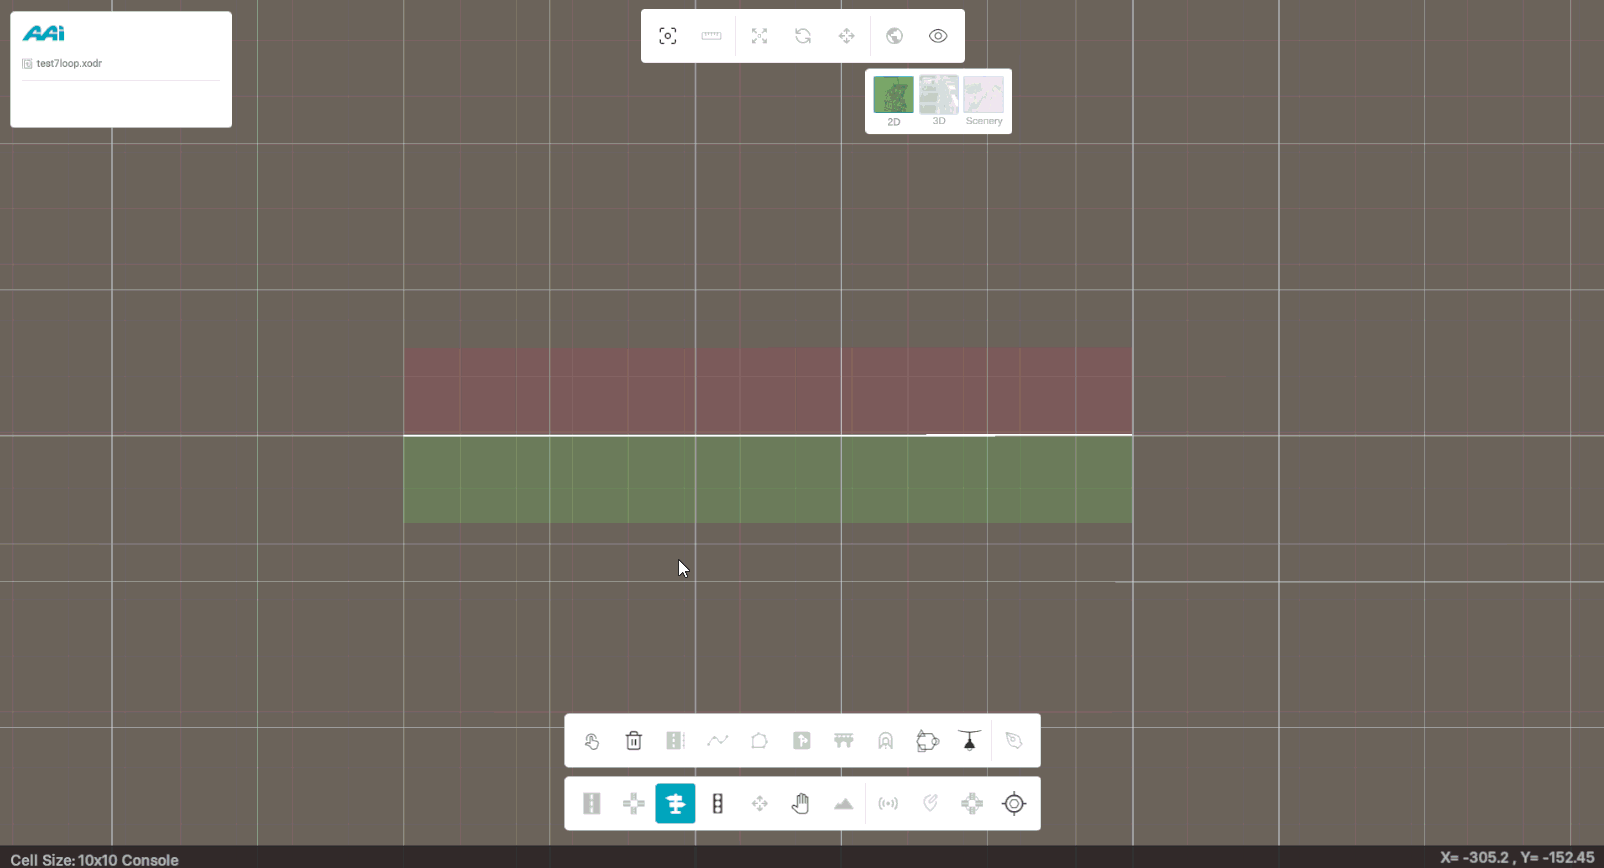
View
View Icon allows the user to change the way the current XODR is being perceived by the user. It allows the user to experiment with multiple angles how we can change and modify the file with more accuracy.
View offers three possibilities for the user to change to:
- 2D View
- 3D View
- Scenery
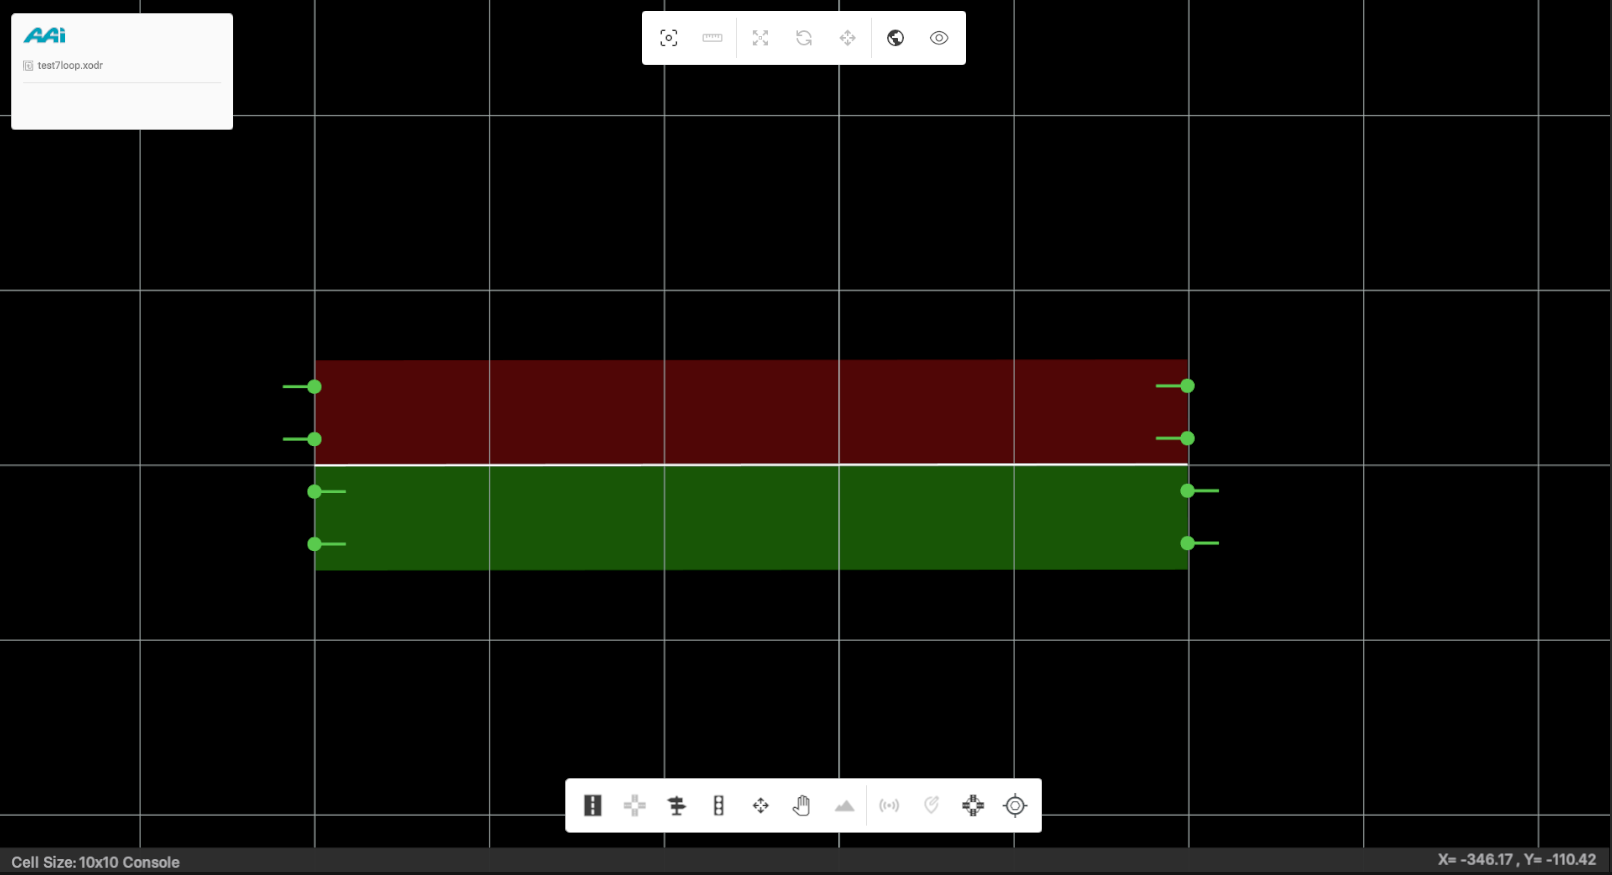
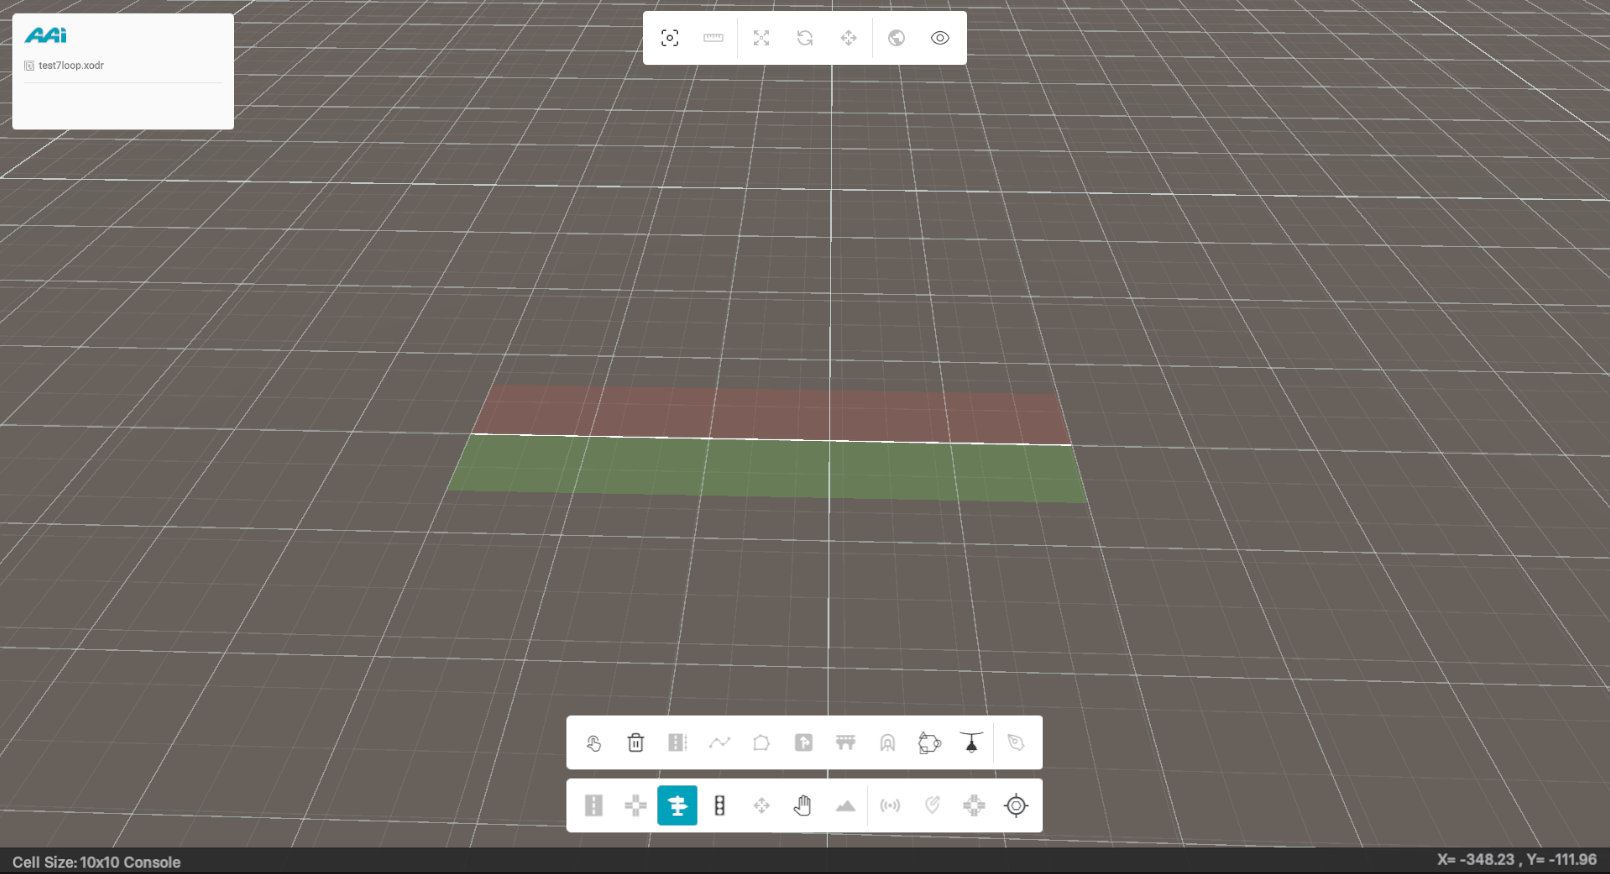
2D View
This is the default perspective or scene, providing access to RepliMap’s core functionalities. It offers a balanced view—both technical and simplified—for efficiently developing and managing the map in progress.
Hold the Left Alt key and drag with the left mouse button to rotate the camera and adjust the viewing angle into a 3D perspective. The rotation is relative to the current camera orientation, allowing smooth and intuitive control over pitch and yaw.
When the Left Alt key is released, the view automatically resets to the original 2D top-down perspective.
This behavior ensures that the camera returns to its default alignment, maintaining accuracy and preventing unintended edits in the temporary 3D view.
Note: Editing functions such as placing objects, extending roads, or adjusting anchors are not available in the temporary 3D view.
To make geometry or object changes, switch back to the standard 2D editing mode.
Scenery View
The Scenery View offers a more immersive perspective for interacting with your map. Users can navigate using:
- W: Translate camera position forward along the local Z-axis.
- A: Translate camera position left along the local X-axis (negative direction).
- S: Translate camera position backward along the local Z-axis.
- D: Translate camera position right along the local X-axis (positive direction).
- Q: Translate camera position upward along the global Y-axis while holding the right mouse button (usually right).
- E: Translate camera position downward along the global Y-axis while holding the right mouse button (usually right).
This view also enhances visual clarity, displaying improved textures for placed assets such as signals and objects.
3D View
Feature is currently unavailable in the latest RepliMap version.
The 3D View provides a high-fidelity, fully rendered version of the map — ideal for visualizing the final result.
While editing is disabled in this mode, users can freely navigate the scene to review details and overall aesthetics.
Use the same navigation controls as in the Scenery View for seamless exploration.

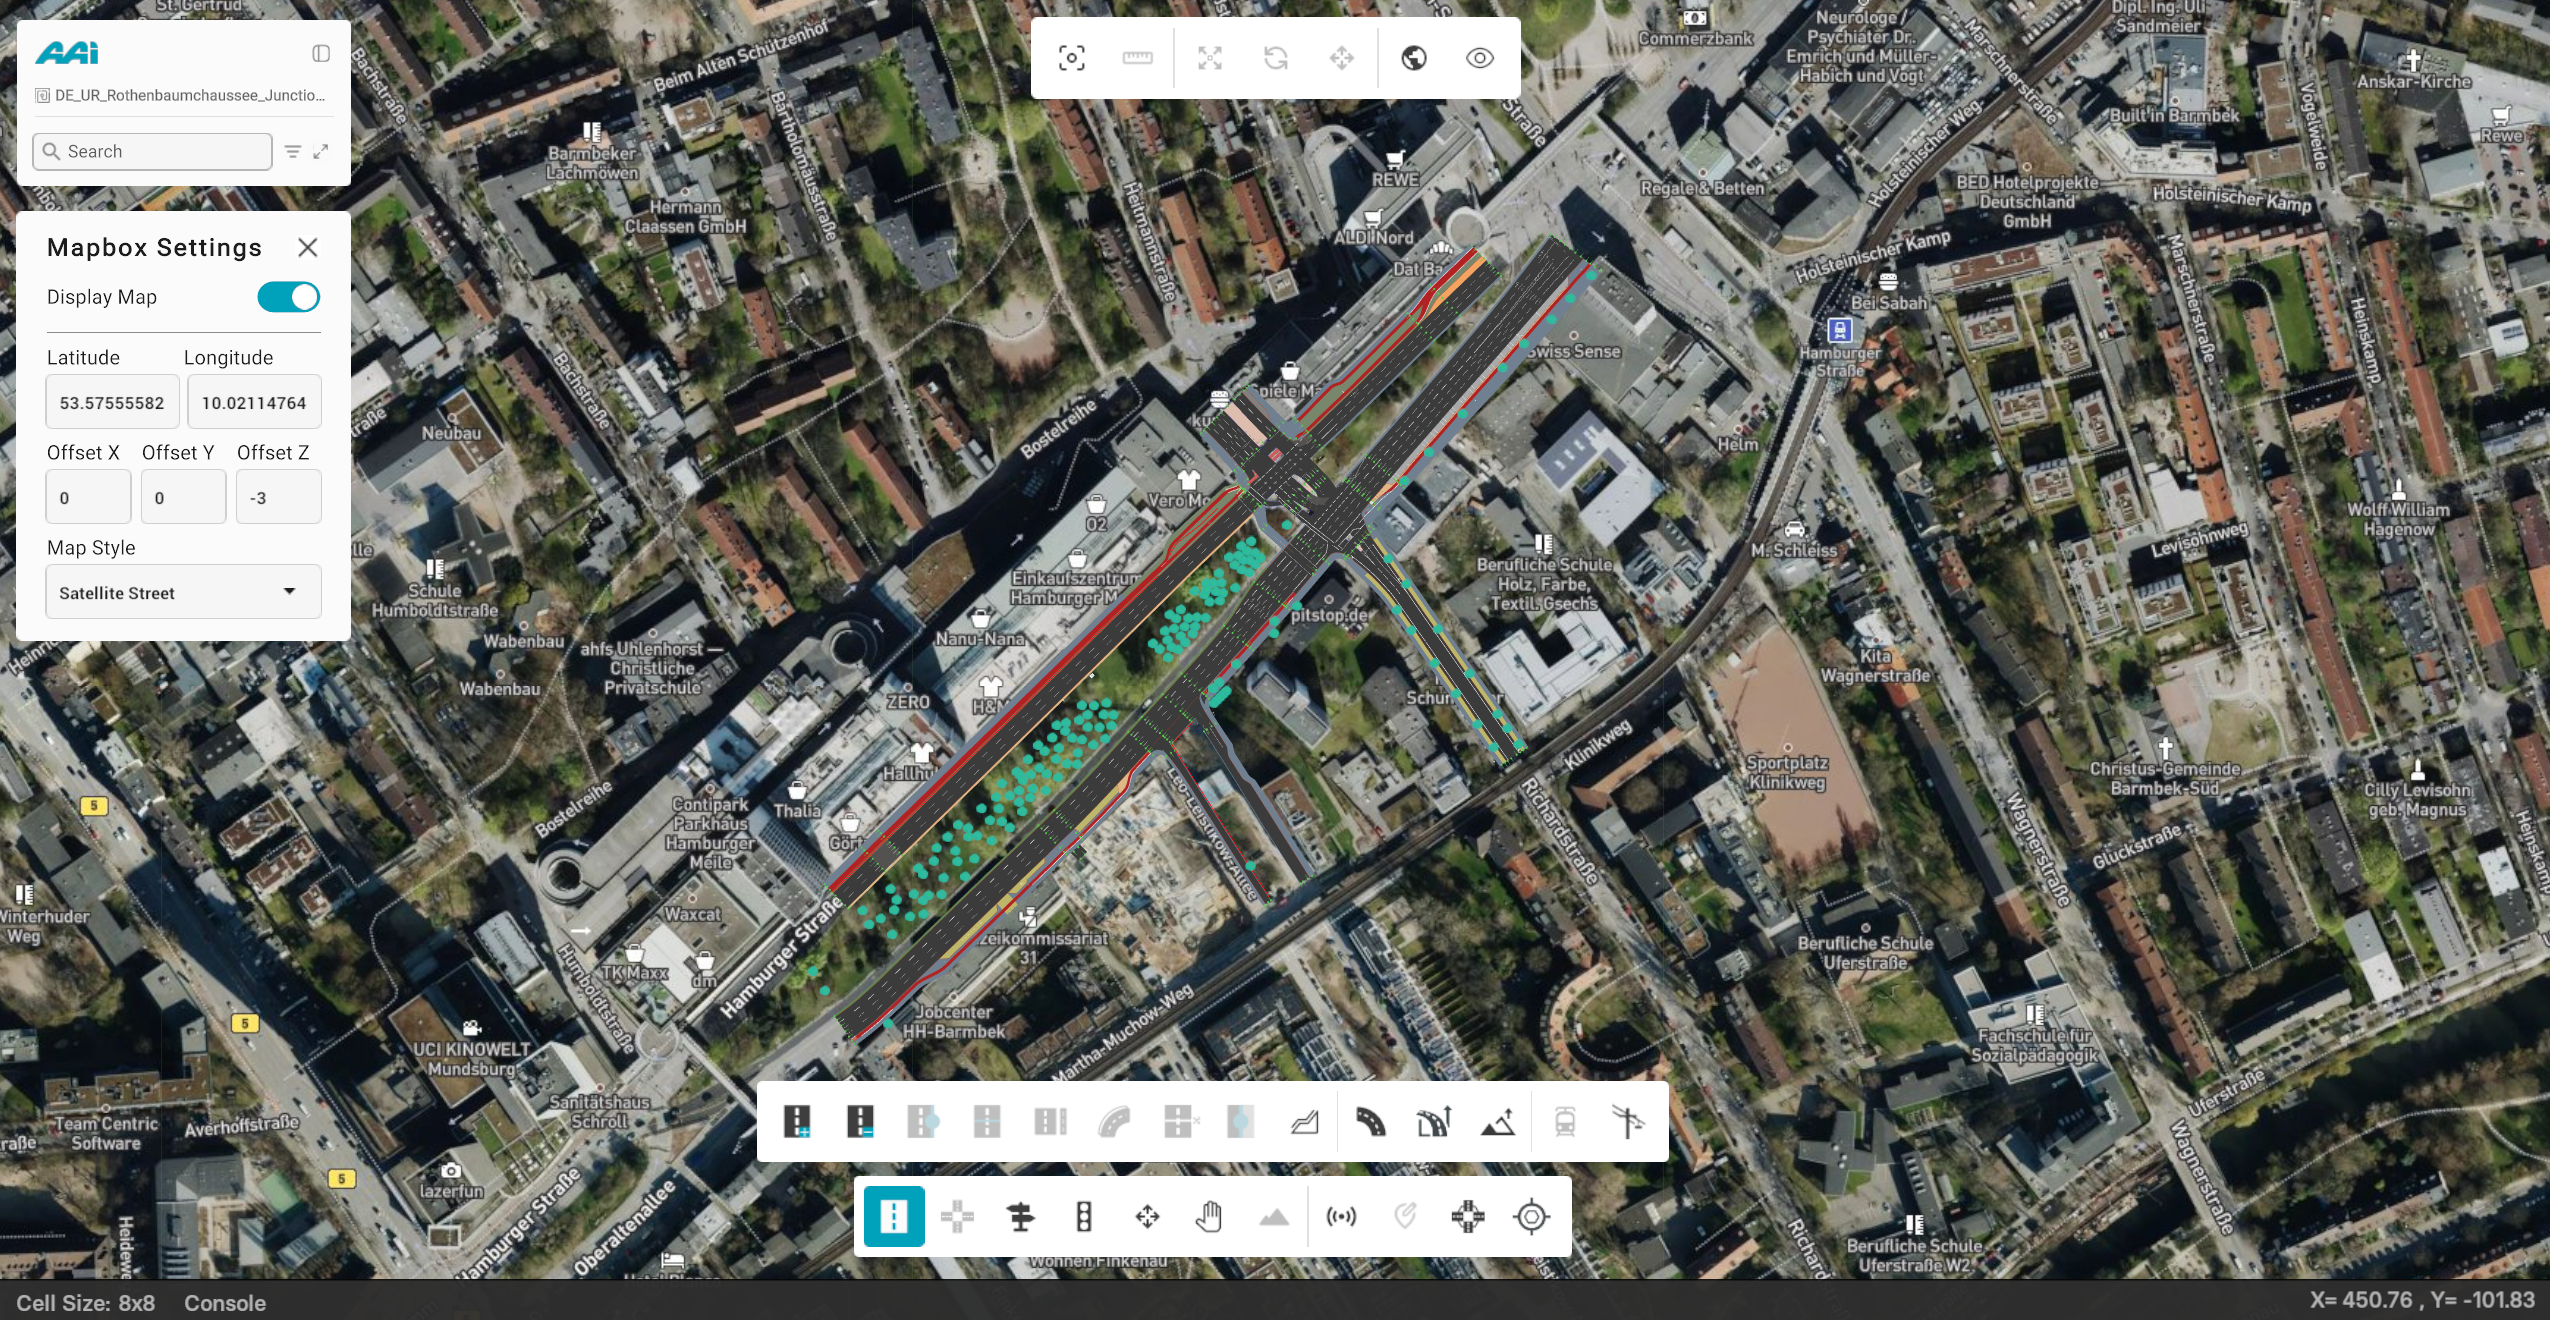
Mapbox
Mapbox enables users to specify multiple factors that influence the map’s positioning and general properties.
It also allows users to select a background reference, providing valuable context to ensure accuracy and precision when working with and experimenting on XODR file content.
Once enabled, users can interactively draw roads, place objects, and visualize assets directly over the Mapbox background.
This feature helps in aligning map elements with real-world coordinates and improves the editing experience when referencing satellite or vector-based layers.
The Mapbox includes:
- Display Map
- Latitude
- Longitude
- Offset X, Y, Z
- Map Style
!
Move
Move allows users reposition an object to a desired location using an XY coordinate-based arrow system. Any changes made will be instantly reflected across all views.
When the 3D view is selected, dimensions such as the Z plane will be added to the view accordingly. This feature can also be activated by selecting the object or signal and pressing the "W" key. This feature will only work if the "Objects" or "Signals" tool is selected.
Rotate
Rotate allows users to rotate an object to a desired angle using a degree-based system. Any adjustments made will be immediately reflected across all views.
When the 3D view is selected, dimensions such as the Z plane will be added to the view accordingly.This feature can also be activated by selecting the object or signal and "pressing the "E" key. This feature will only work if the "Objects" or "Signals" tool is selected.
Scale
Scale allows users to adjust the size of an object to a desired scale using a proportion-based system. Any changes made will be immediately reflected across all views. This feature can also be activated by selecting the object or signal and pressing the "R" key. This feature will only work if the "Objects" or "Signals" tool is selected.
Ruler
Feature is currently unavailable in the latest RepliMap version.
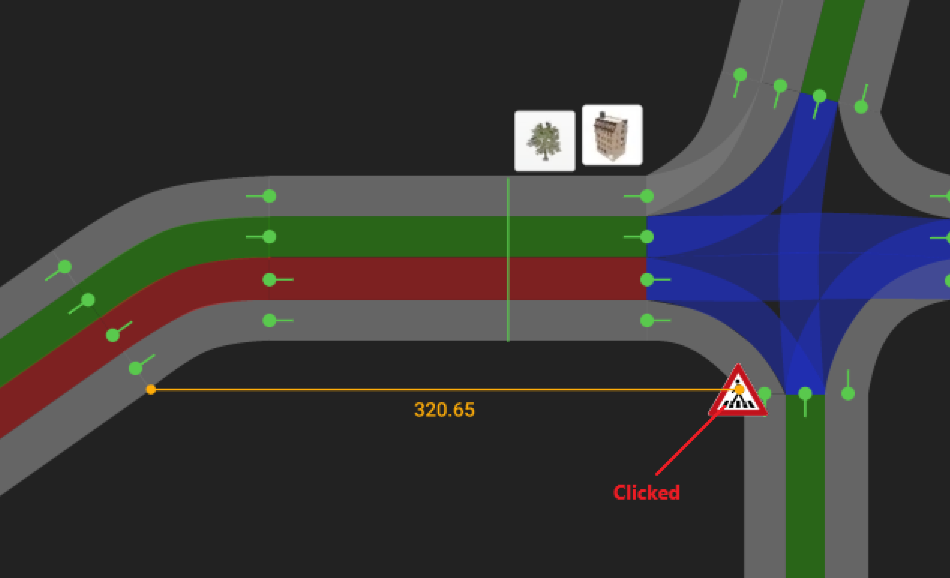
Ruler enables users to measure specific distances without needing to create a helper road as a placeholder (as in earlier iterations of the development version). It allows users to calculate the distance between two selected points, providing precise measurements in meters.
Focus
Focus allows users to quickly center and zoom in on a selected road within the map. This feature helps streamline navigation by bringing the chosen road into view, making it easier to analyse or edit specific sections with precision. This feature can also be activated by selecting the object or signal and pressing the "F" key. This feature will only work if the "Objects" or "Signals" tool is selected.