Other Parameters
A parameter pane is given at the right side of the main window, it provides all the information about the selected road and lets you adjust settings accordingly. Click once on the road to get all related parameters, double-click at any point on the road to see lane section ID and lane count, and triple-click on any lane to set values and specify lane and marking types.
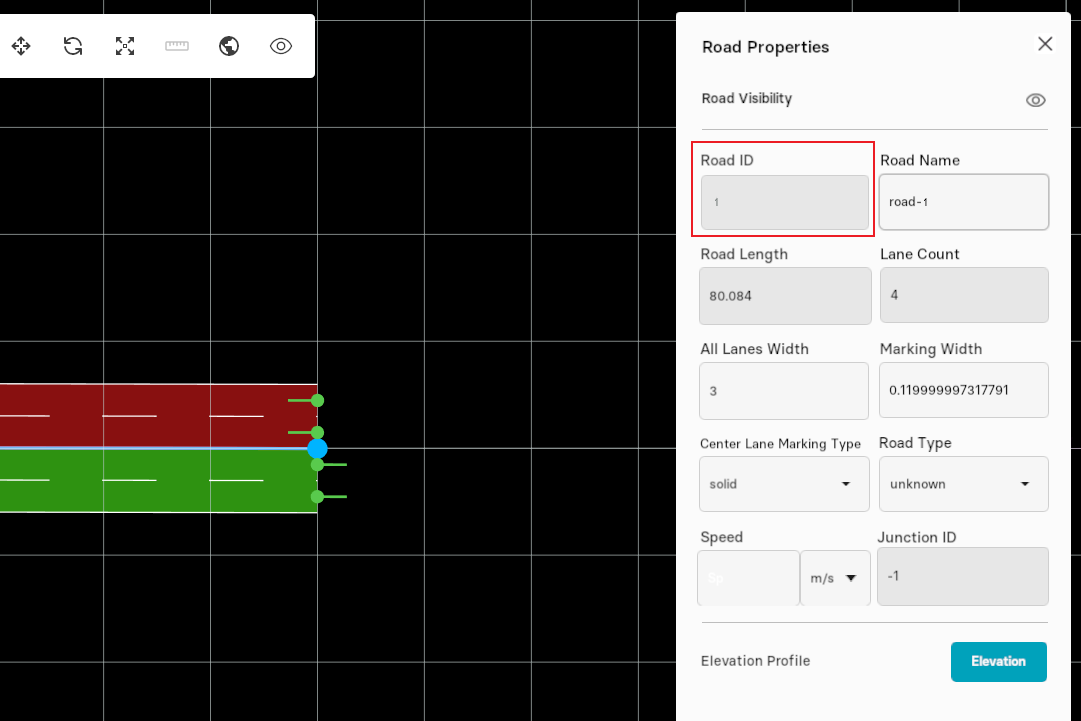
Road ID
Road ID is a unique identification number of a selected road. In parameters pane, road ID is displayed at the top of other road properties.
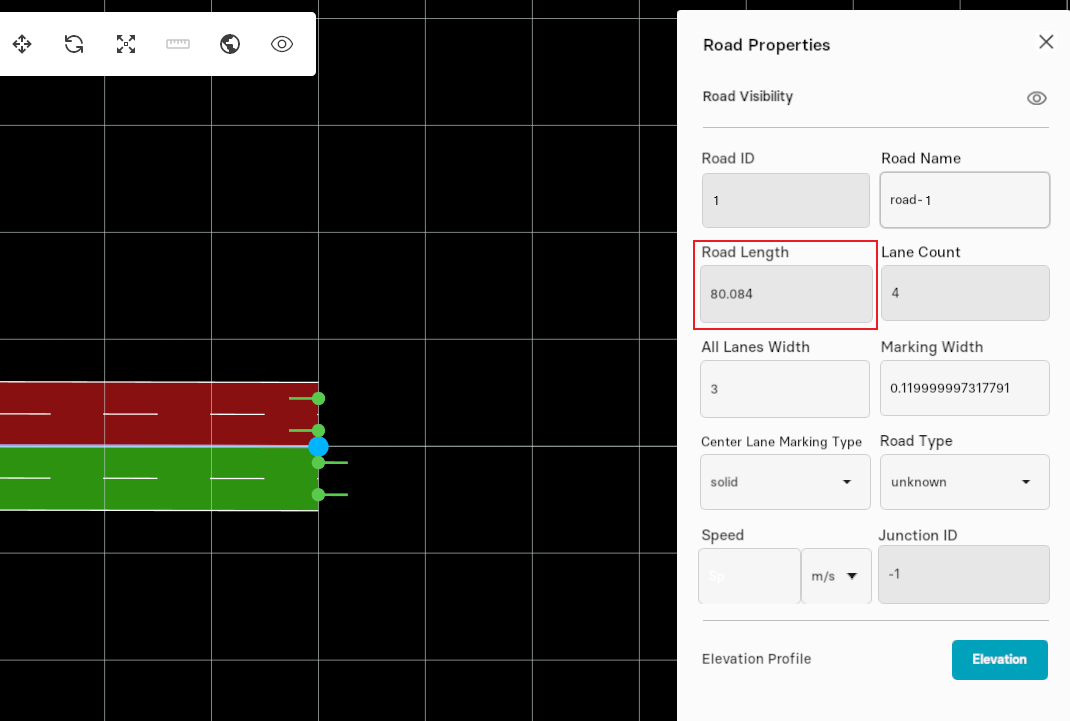
Road Length
This feature describes the length of the selected road in the map.
Lane Count
Lane Count gives the number of existing lanes in first lane section of the selected road in the map.

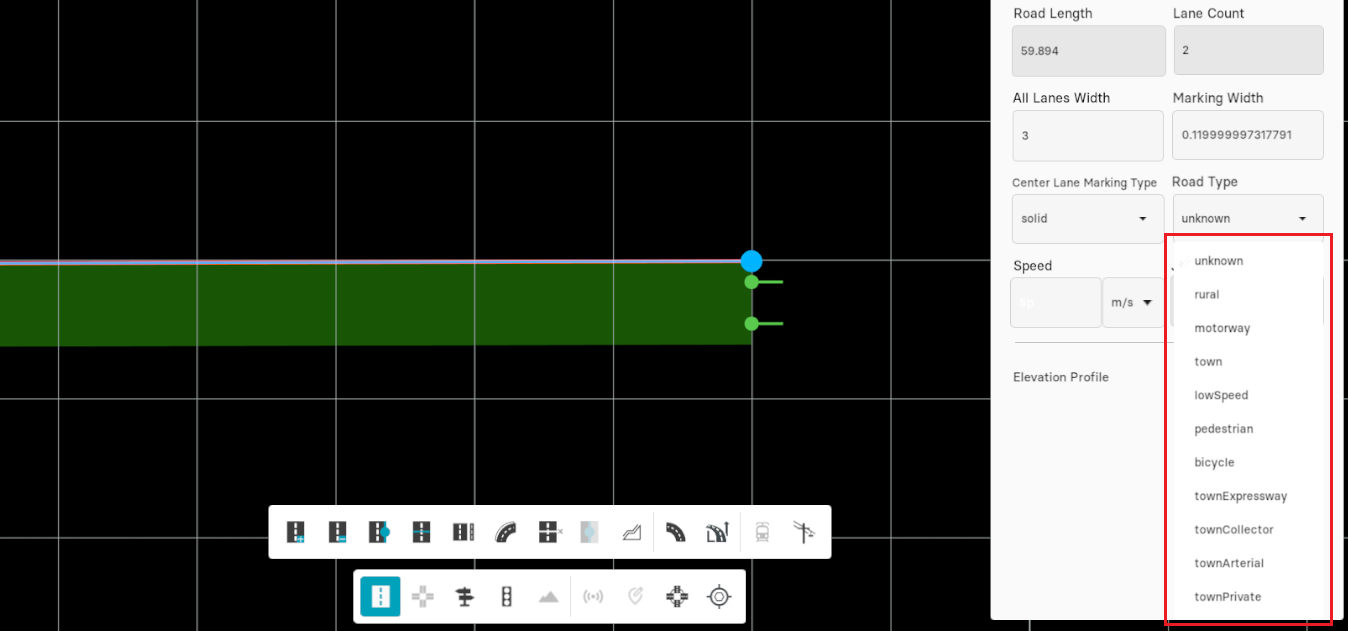
Road Type Information
This option provides a range of road types which can be adjusted later according to the requirements by clicking on "Road Type" in parameters pane and then selecting your desired road type from drop-down menu as displayed in figure below.
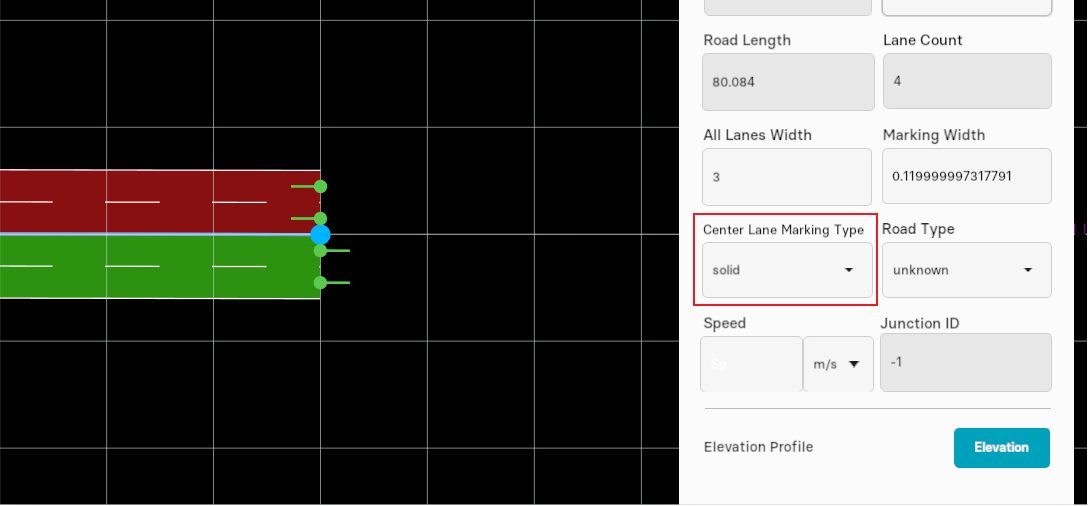
Center lane Marking Type
There are certain ways of marking a center lane of the road. Once you have created a road in Map Editor, now it allows you to select the marking type from parameters pane at the right side of the window as shown in figure below. Note: Only selecting the road enables the parameters pane that appears at the right side of your screen .
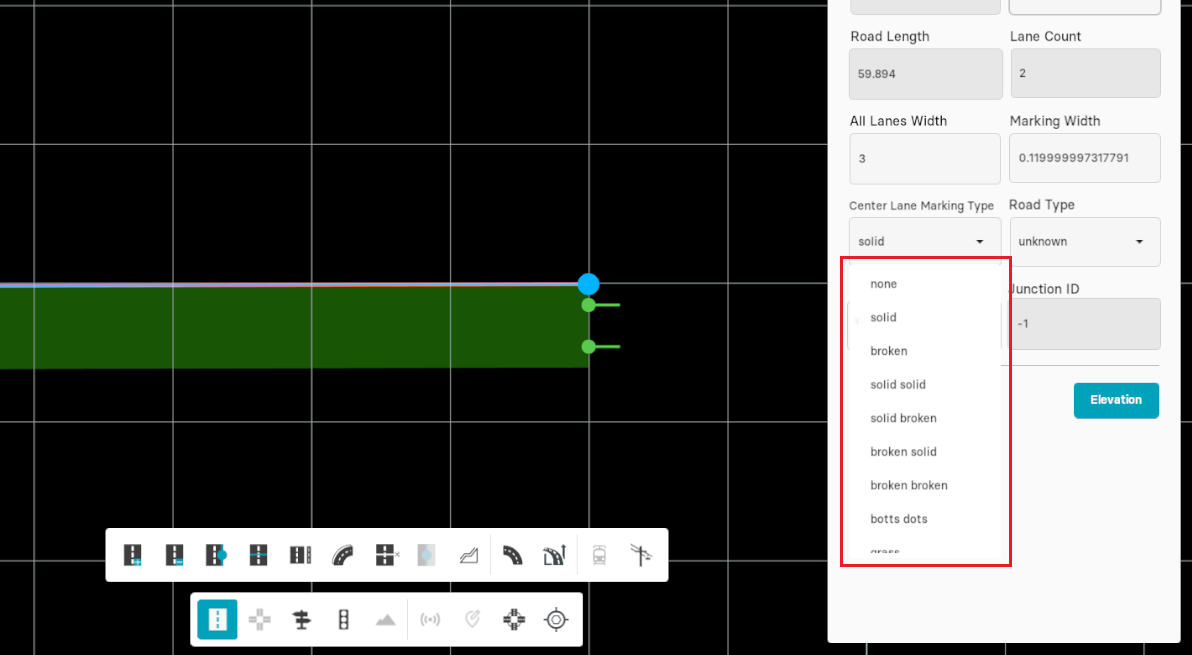
Select a road from your map by clicking on it once. Move your cursor to the right-side of the screen, click on the button next to the "CenterLane Marking Type" , here you can see "solid" marking type is selected by default.
A scrollable drop-down menu appears showing several centerlane marking types.
Speed
This option lets you define maximum speed for the selected road.
1. Go to "Parameters Pane", click on the drop-down box next to "Speed". Here, a scrollable drop-down menu appears showing different units(kilometer per hour, miles per hour and meter per second) for the speed.
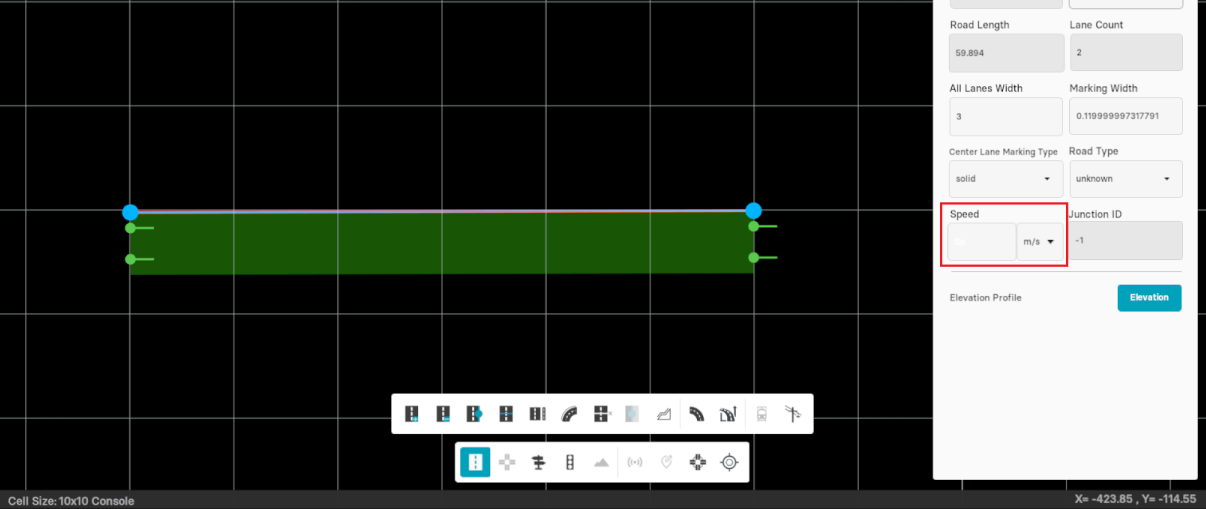
2. Enter speed in "digits" in given entry box labelled as "Sp" as illustrated in figure given below.
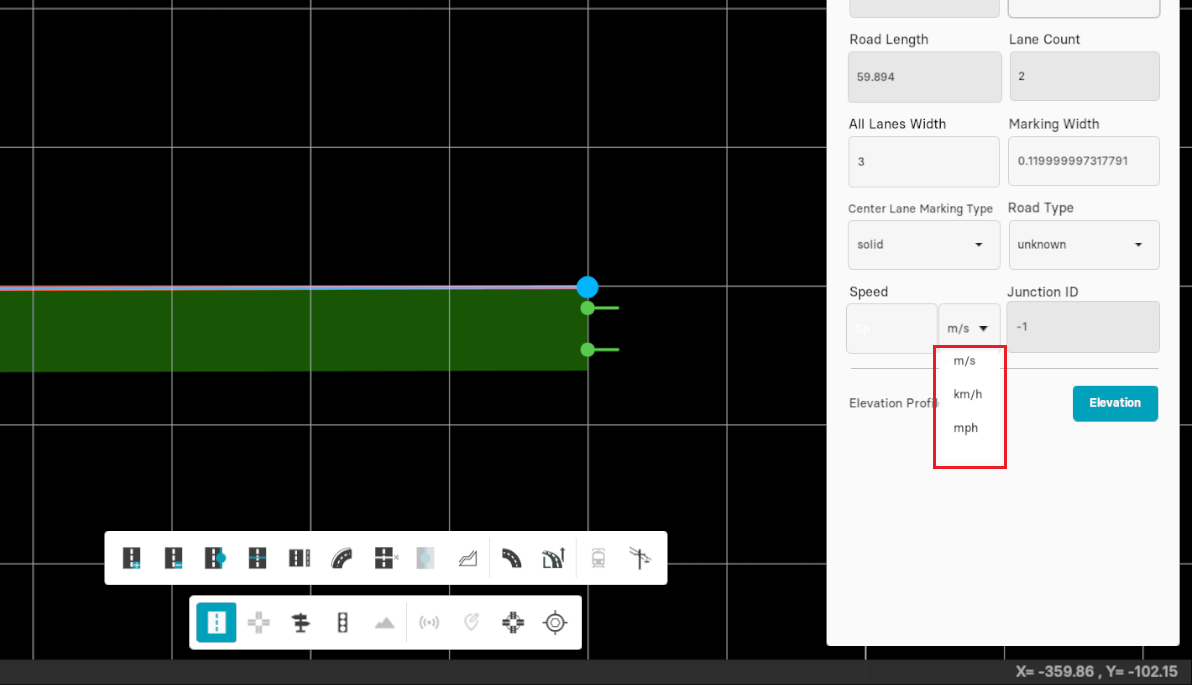
Units
Following are the units indicating the speed of traffic on the road:
| Unit | Identifier |
|---|---|
| Meters per second | m/s |
| Kilometers per hour | kph |
| Miles per hour | mph |
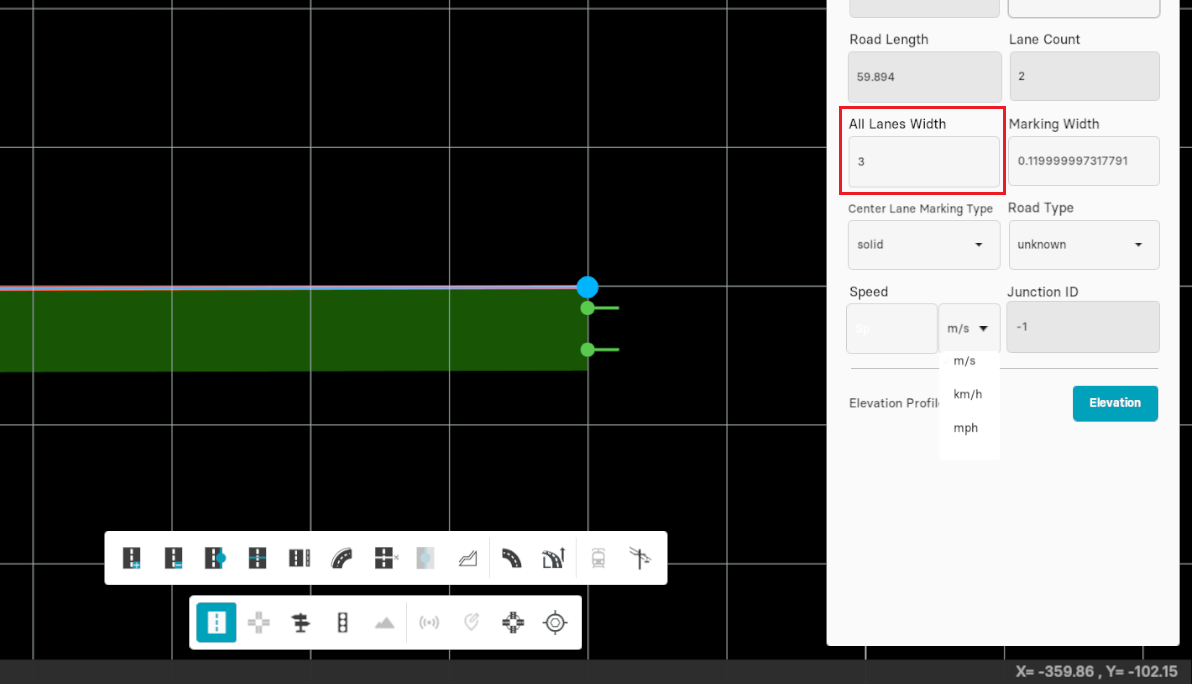
Lane Width
The width for any lane can be specified manually from the given parameters pane. By default, all lane width is set to 3. You can change the width of all the lanes according to the requirements.
Select "Create Road" from the toolbar, single-click on the road to enable the parameters pane displaying all the road properties. Here, you can change the width value for all the lanes simultaneously.
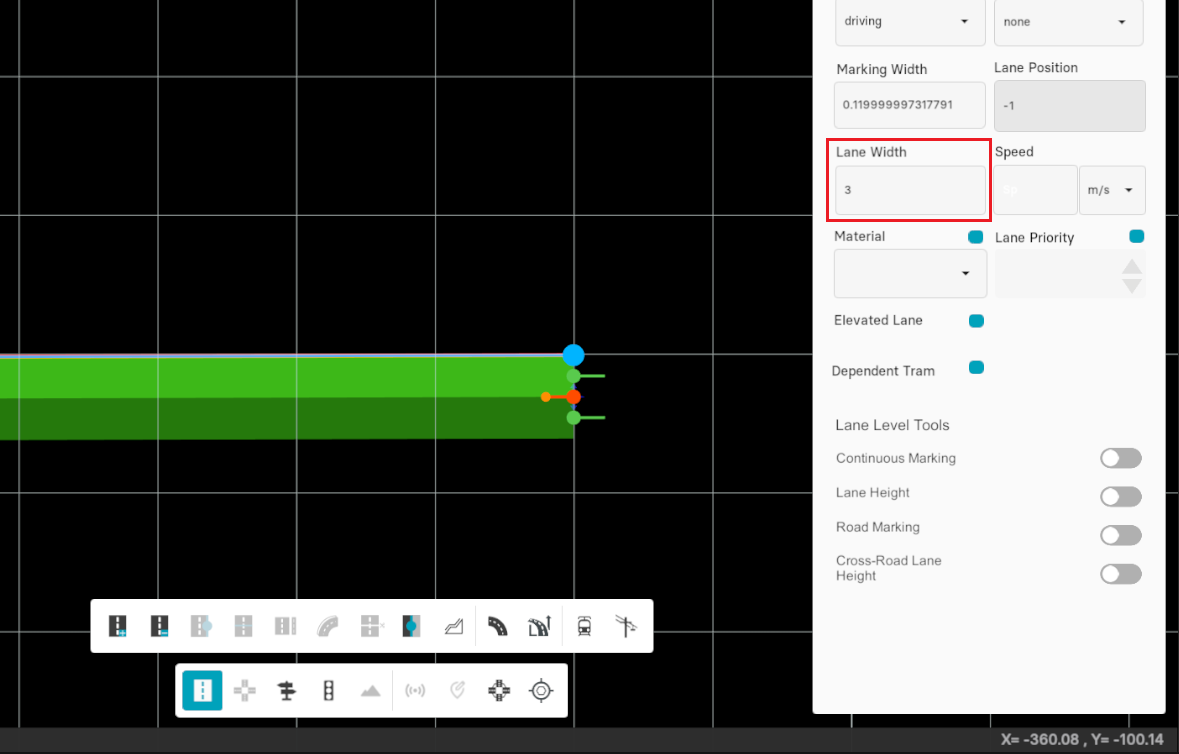
Single-lane width
Select "Create Road" from the toolbar, triple-click on the lane to see all the lane properties. Here you can set the width of each lane individually.
Marking Width
Marking Width defines the width of the marking on each lane. When you select a road, a parameter pane opens up at the right-side of the screen simultaneously. These properties enables you to modify the marking width of each individual lane in the map.
- Single-click on the road to set the marking width of the center lane. By default, this value is set to 0.125. Enter the new value in the given entry box next to Marking Width and click on Set.
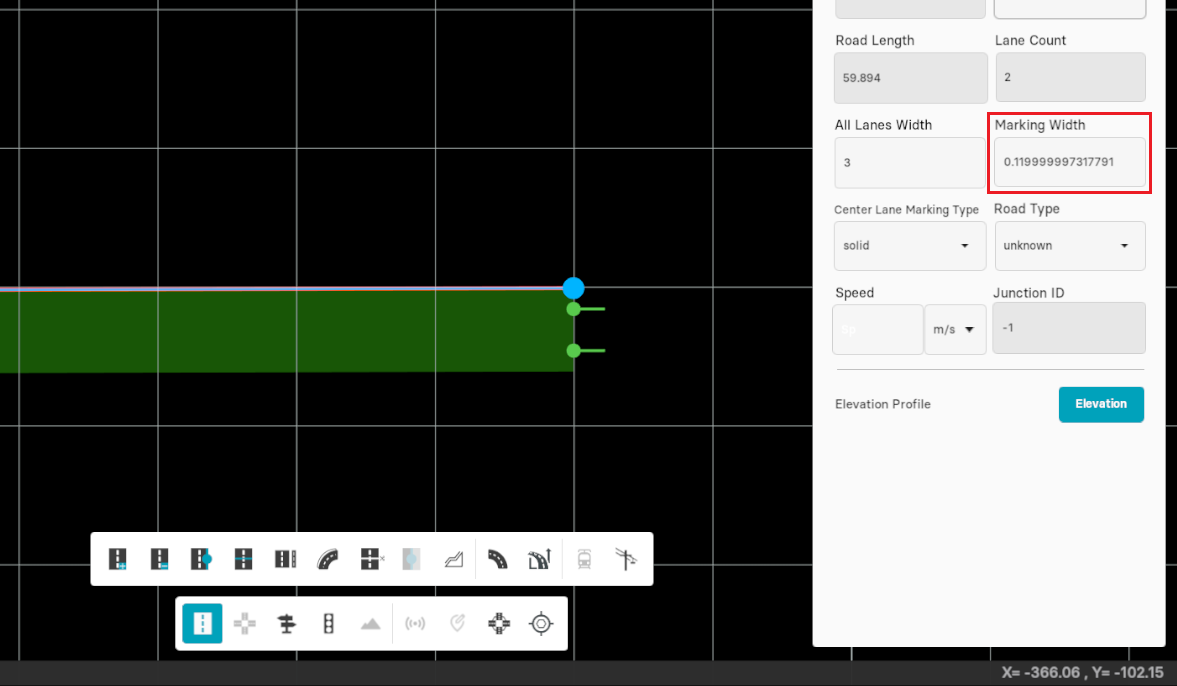
- Triple-click on the particular lane to adjust its marking width. By default, this value is set to 0.125. Enter the new value in the given entry box next to Marking Width and click on Set.
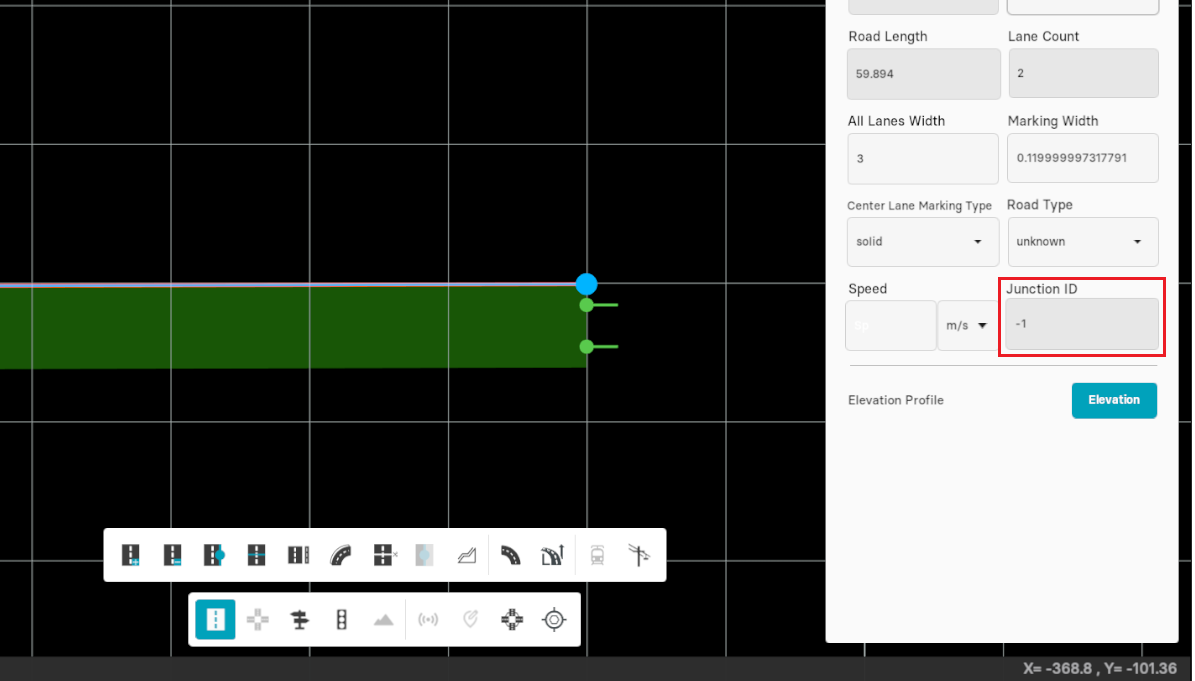
Junction ID
This feature displays the junction id for the loaded maps. Note that it is not applicable in created maps.
- Press left-mouse button on the road to select it. In parameters pane, junction id is present as illustrated in figure given below.
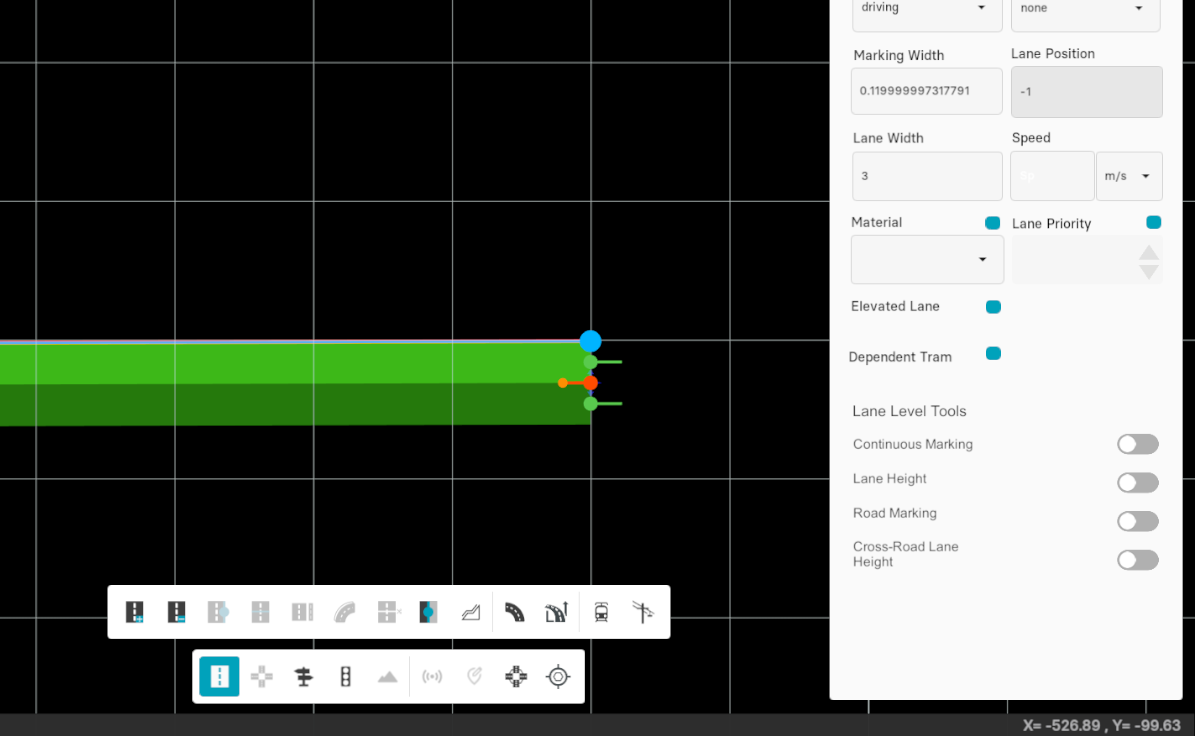
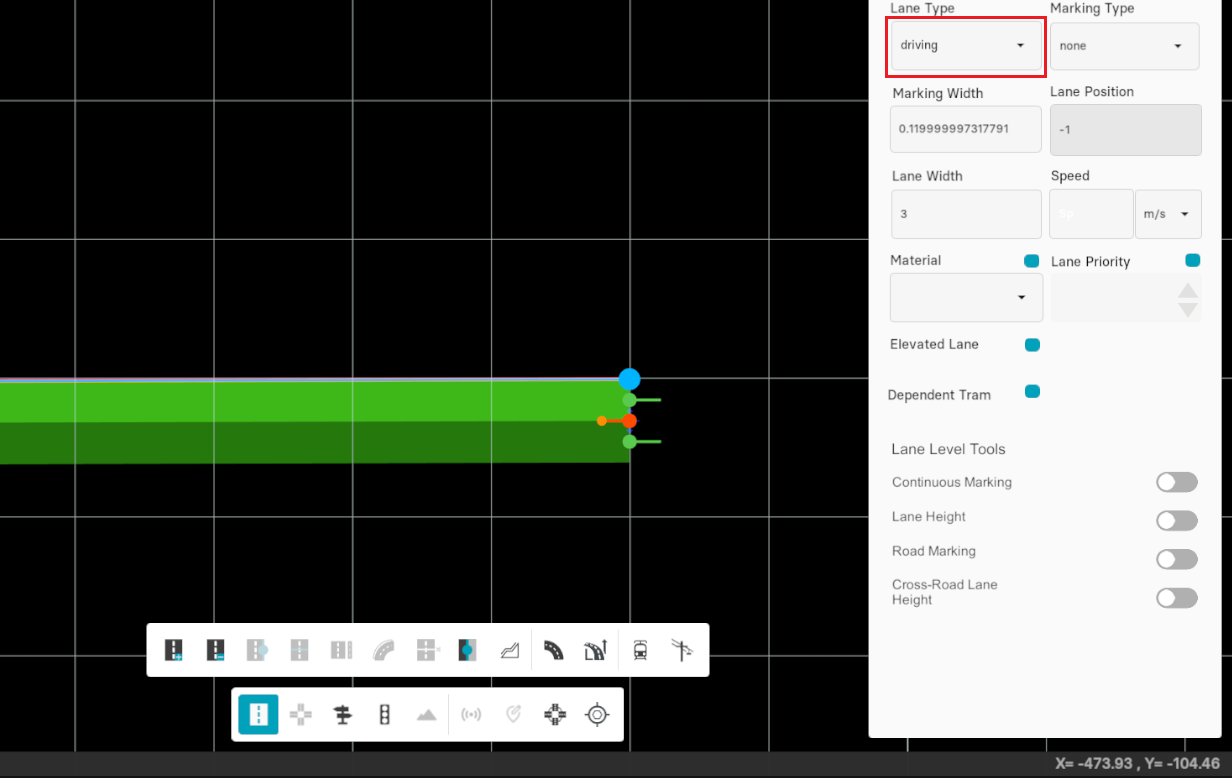
Lane Type
This feature defines different types of lanes in the map, representing the type of traffic on the road.
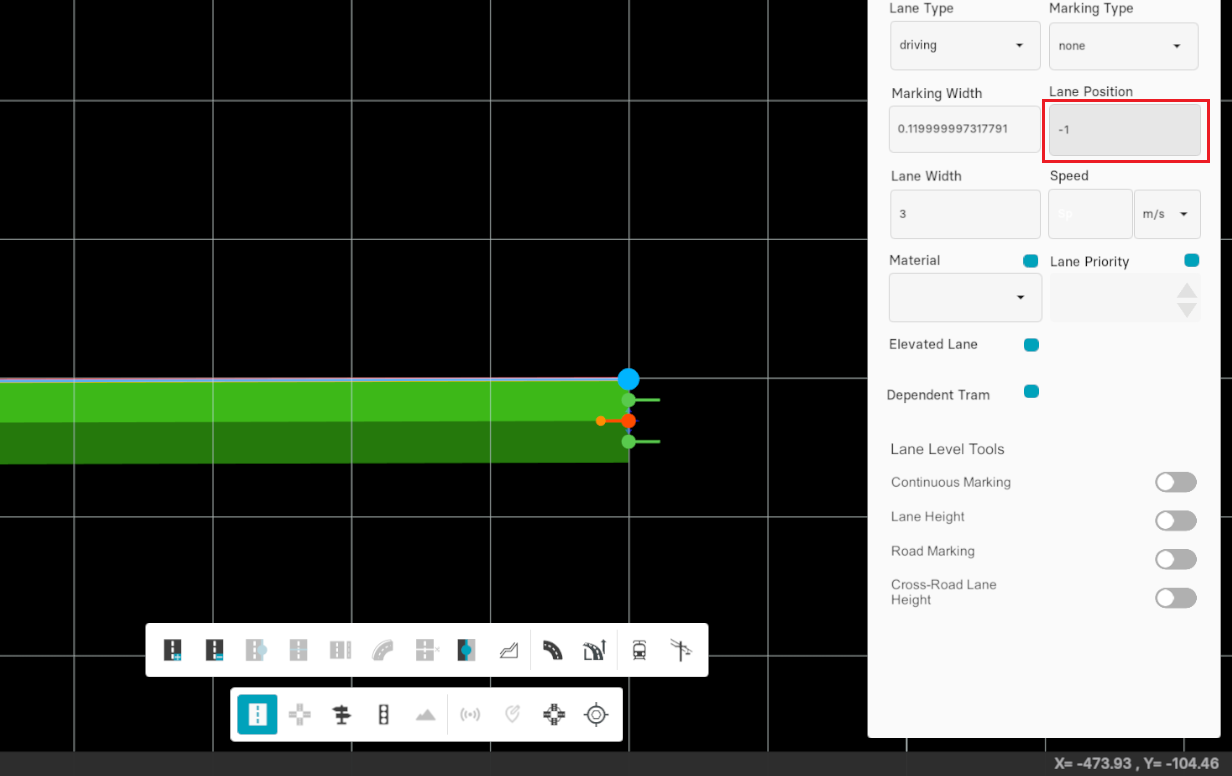
Lane Position
Lanes are identified by numbers which are:
- Unique (per lane section)
- In sequence (without gaps),
- Starting from 0 on the reference line
- Ascending to the left (positive value)
- Descending to the right (negative value)
The total number of lanes is not limited. The reference line itself is defined as lane zero and must not have a width entry (i.e. its width must always be zero).
- Selecting the lane from the left side of the reference line gives a positive (i.e. 1) lane position to the selected lane.
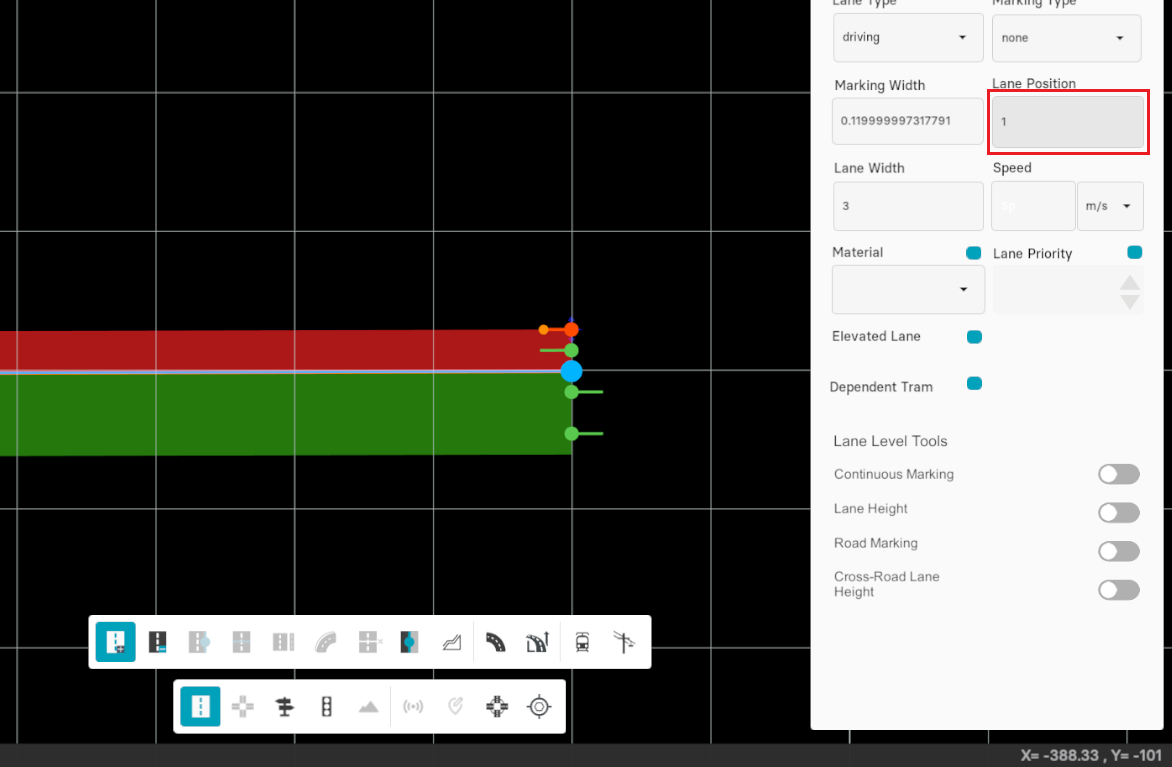
- Selecting the right lane defines (-1) value to the selected lane.
According to above information, it is obvious that there are no gaps between adjacent lanes. However, it is possible to define lanes which shall not be used by vehicles or other road users, as discussed in above section.
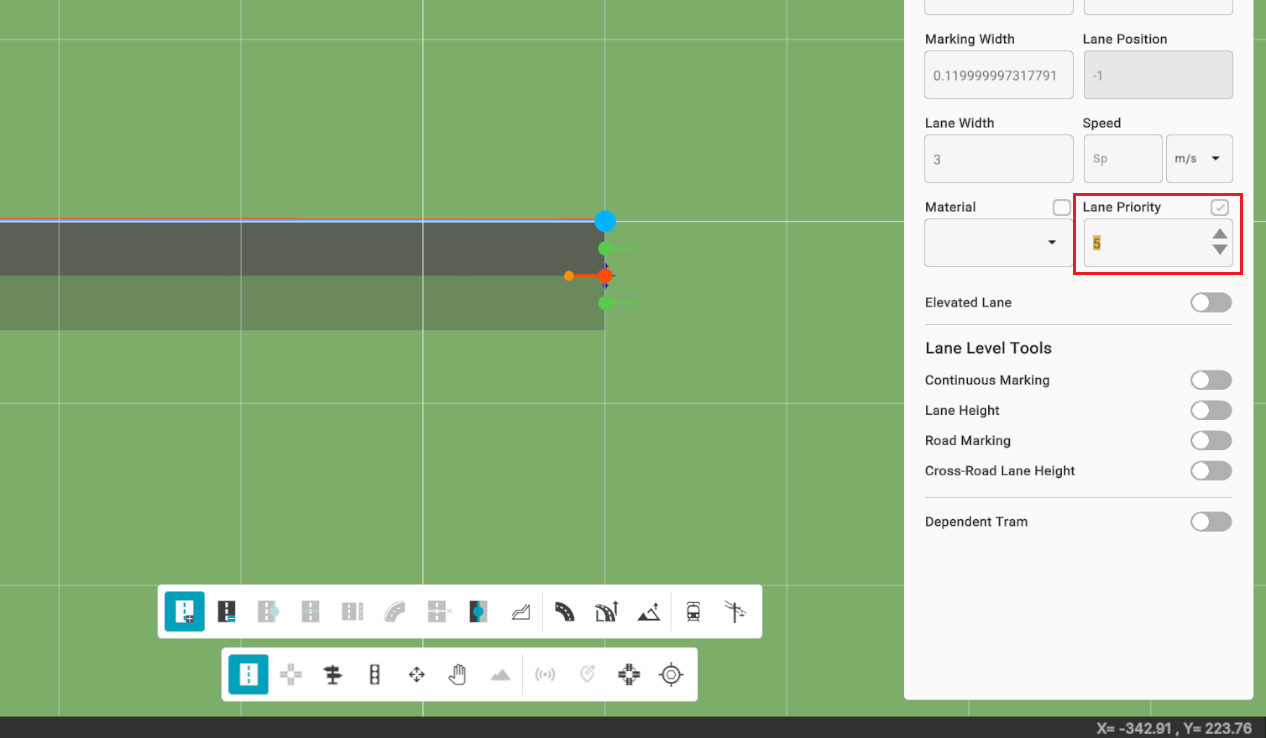
Lane Priority
This feature defines the priority level of a lane, which can be used to indicate right-of-way rules at intersections and influence traffic behavior in simulations or routing logic.
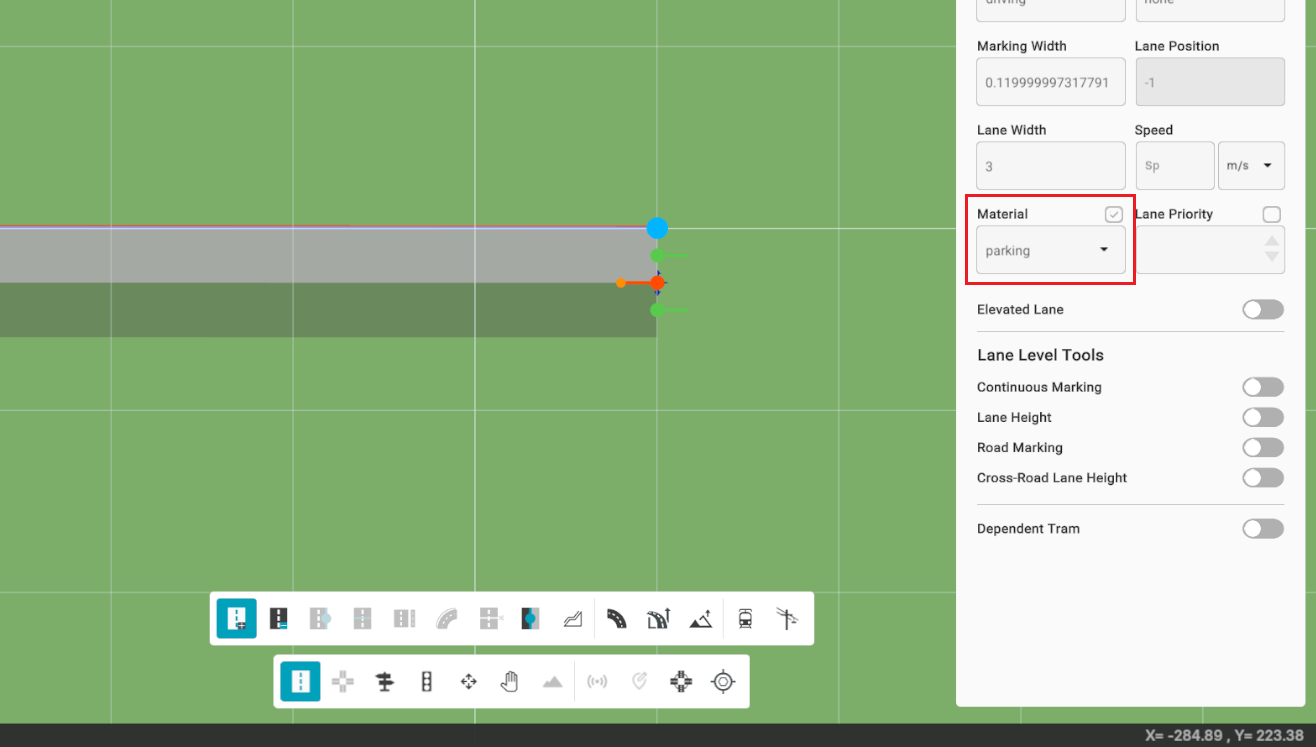
Material
This feature defines the material applied to lanes in the map, allowing for visual differentiation and representation of surface types such as asphalt, concrete, or custom textures.